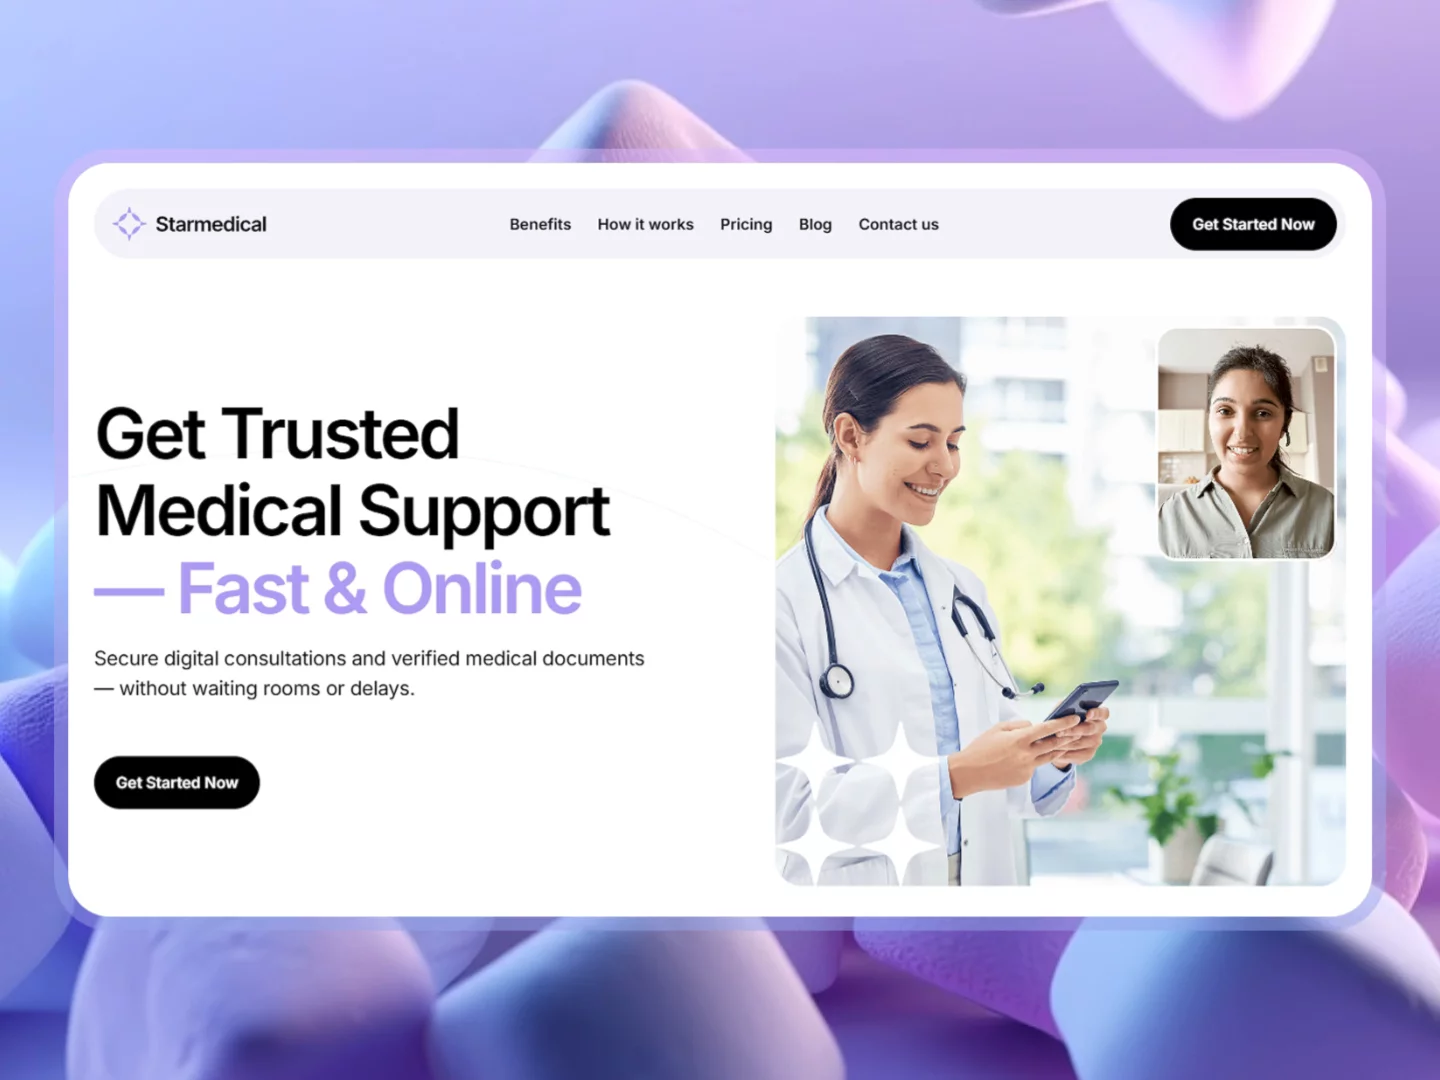
This guide explains how to customize the Starmedica Framer template using its existing components and CMS collections. Follow each short instruction and use the screenshot directly below it to find the correct component or setting.
View the Starmedica Framer template
Before you start
Duplicate the project before making major structural changes. Replace content on the desktop breakpoint first, then review the tablet and phone layouts after your text and images are in place.
Remove the bottom-right corner button
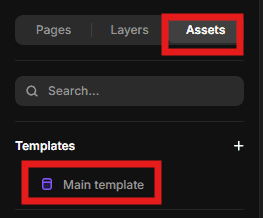
Open the Assets panel and select the Main Template component.
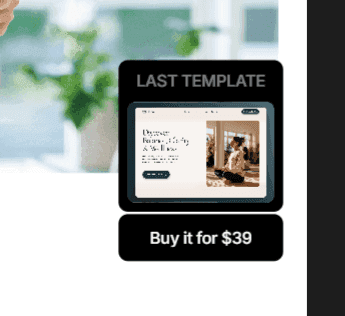
Inside the component, locate the floating button positioned in the bottom-right corner.
Select the button layer and delete it if you do not want the floating shortcut to appear across the website.

Update the benefits cards
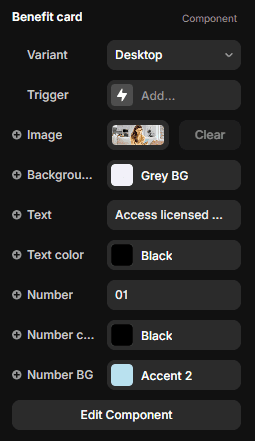
Select a benefit card on the page to access its component controls.
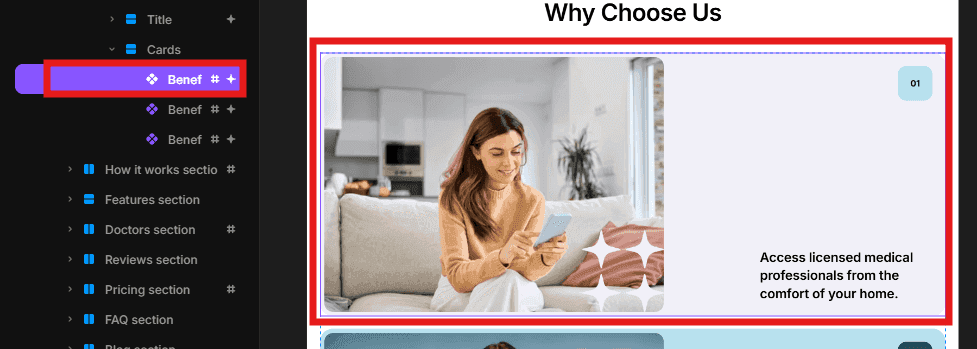
Replace the card title, description, icon, and other available content in the right-side properties panel. Repeat this for every benefit card.
Update the how it works section
Select a card in the How it works section.
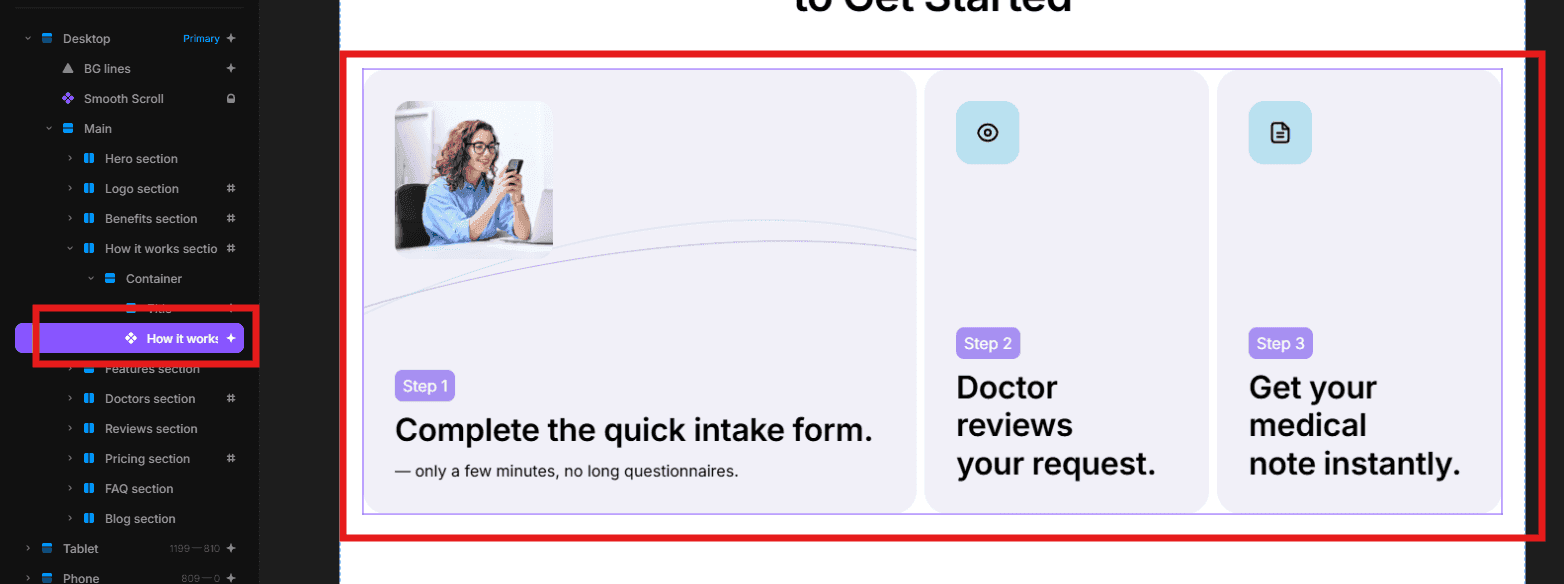
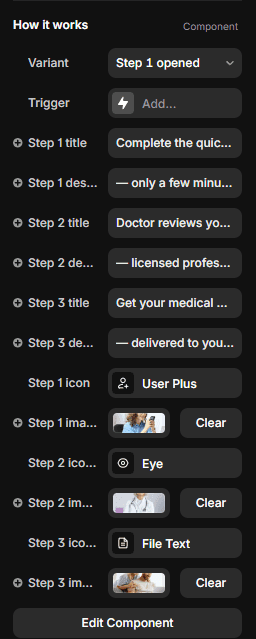
Use the right-side component controls to replace the step number, title, description, and supporting content.
Customize the content section
To change the decorative star color, select the stars and update their color in the right-side properties panel.

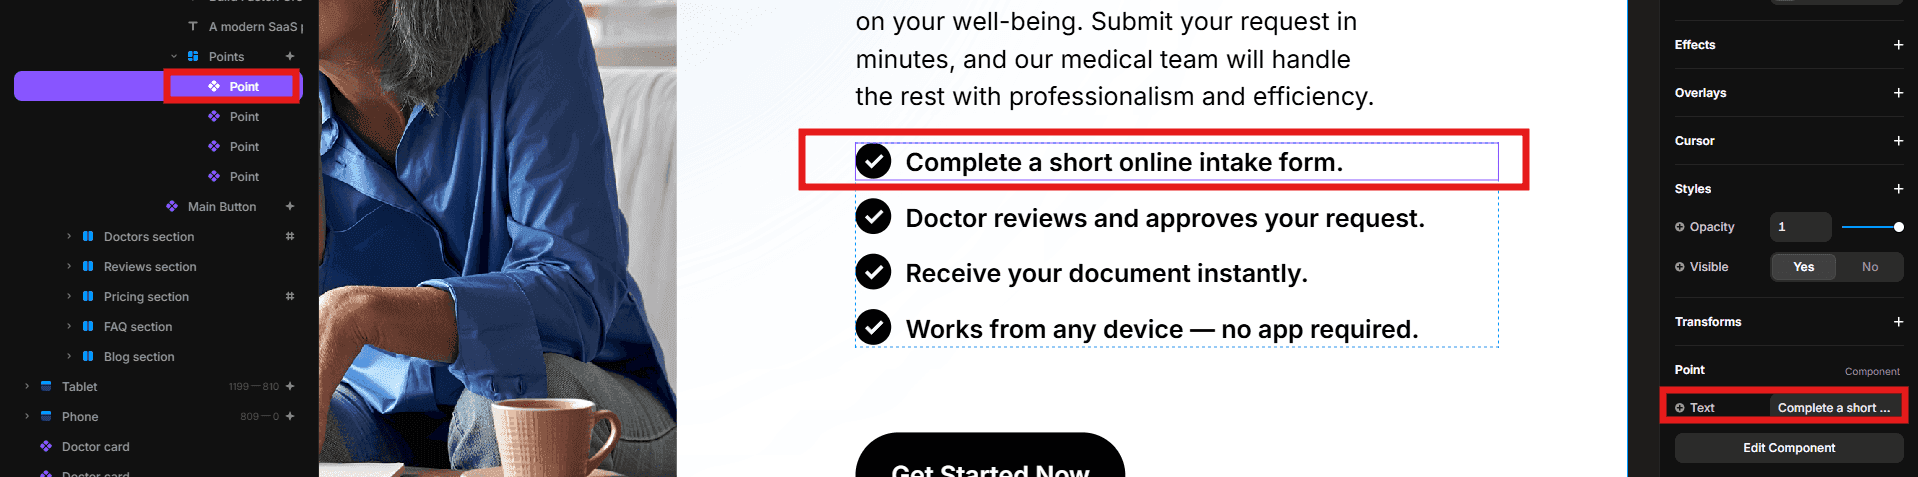
To edit a supporting point, select it and replace its text through the component controls.
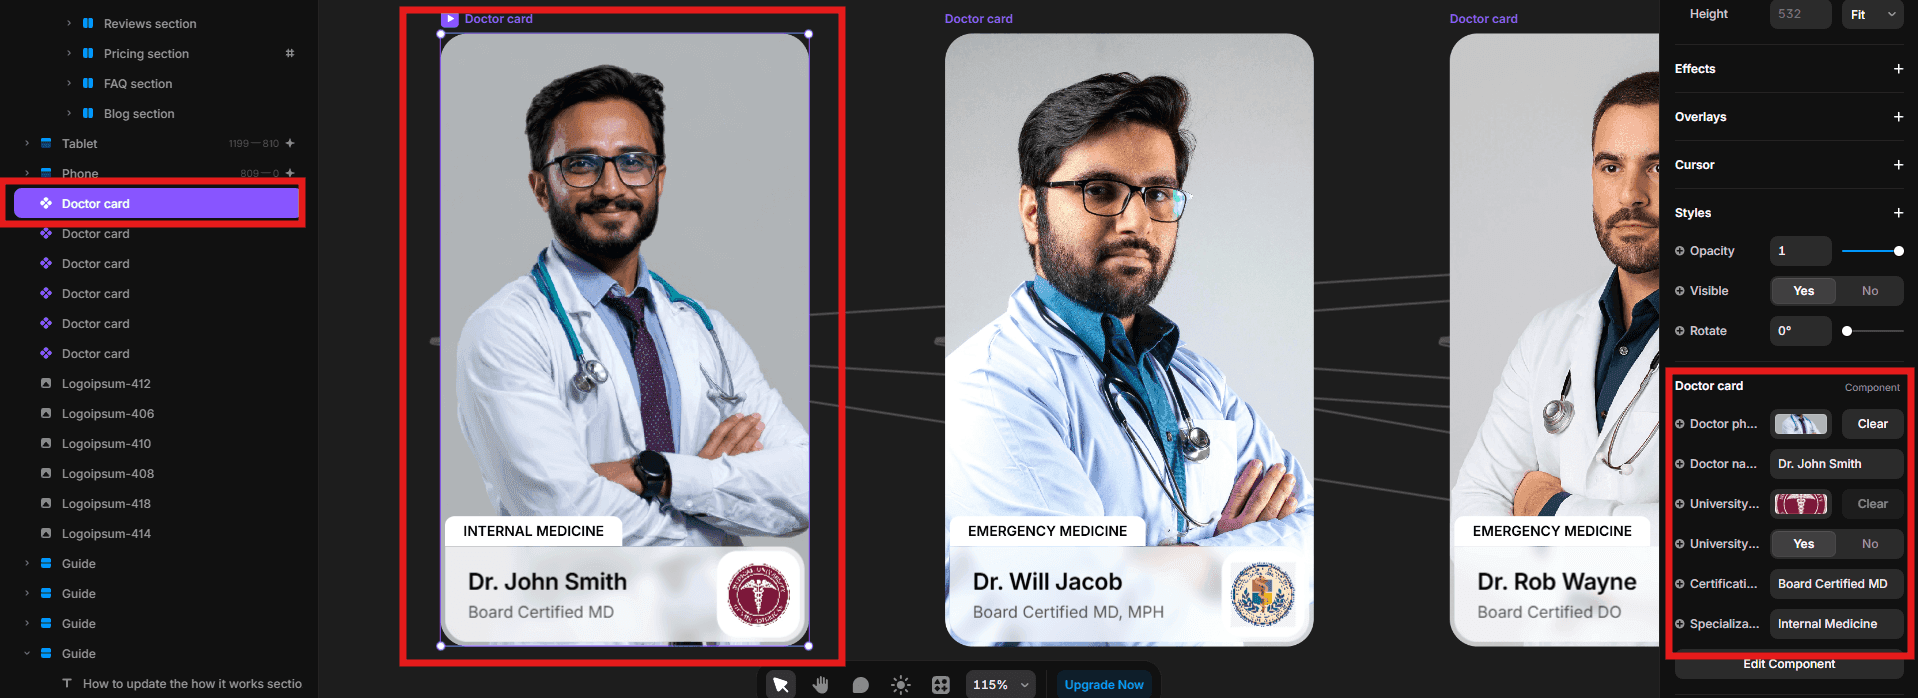
Update doctor profiles
Select a doctor card and replace the portrait, name, role, and other available profile information in the right-side panel.
Update reviews
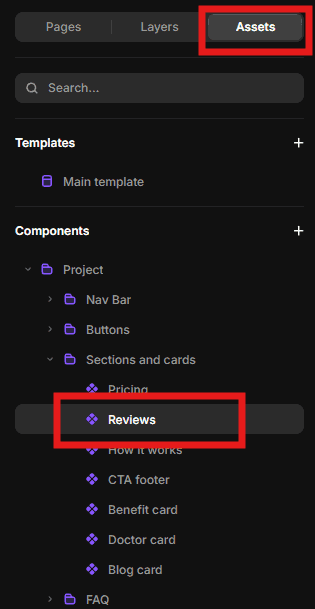
Double-click the Reviews component on the canvas, or open it from the Assets panel.
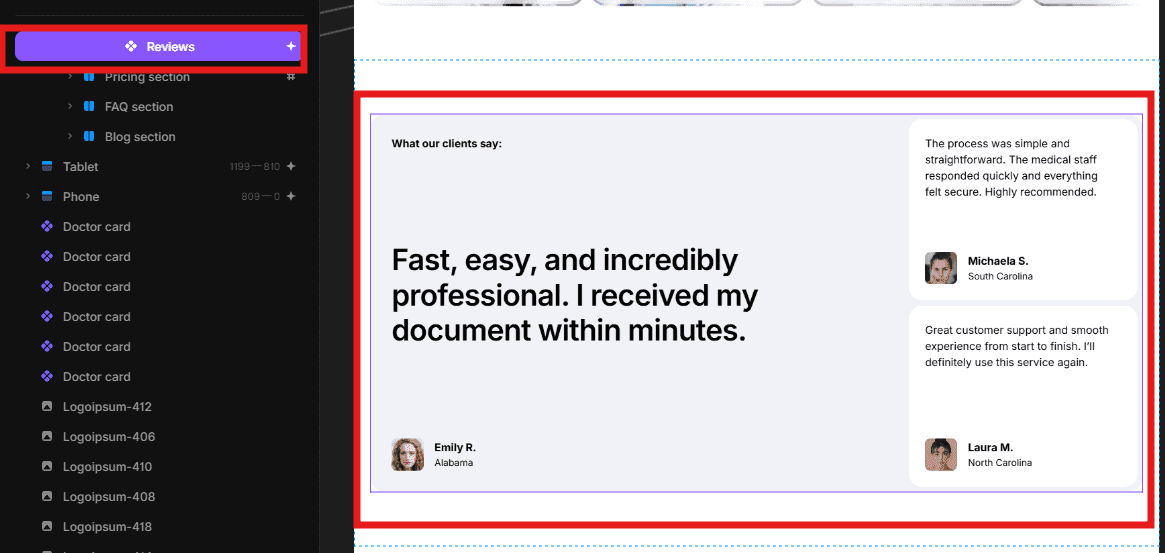
Follow the instructions inside the component and replace each quotation, customer name, role, and supporting image.
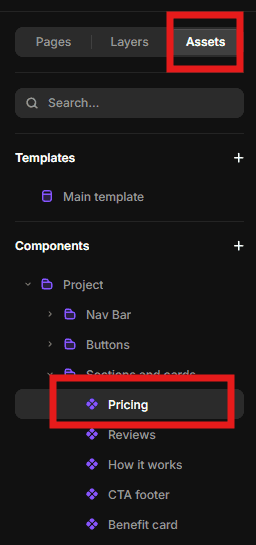
Update pricing
Double-click the Pricing component on the canvas, or locate it in the Assets panel.
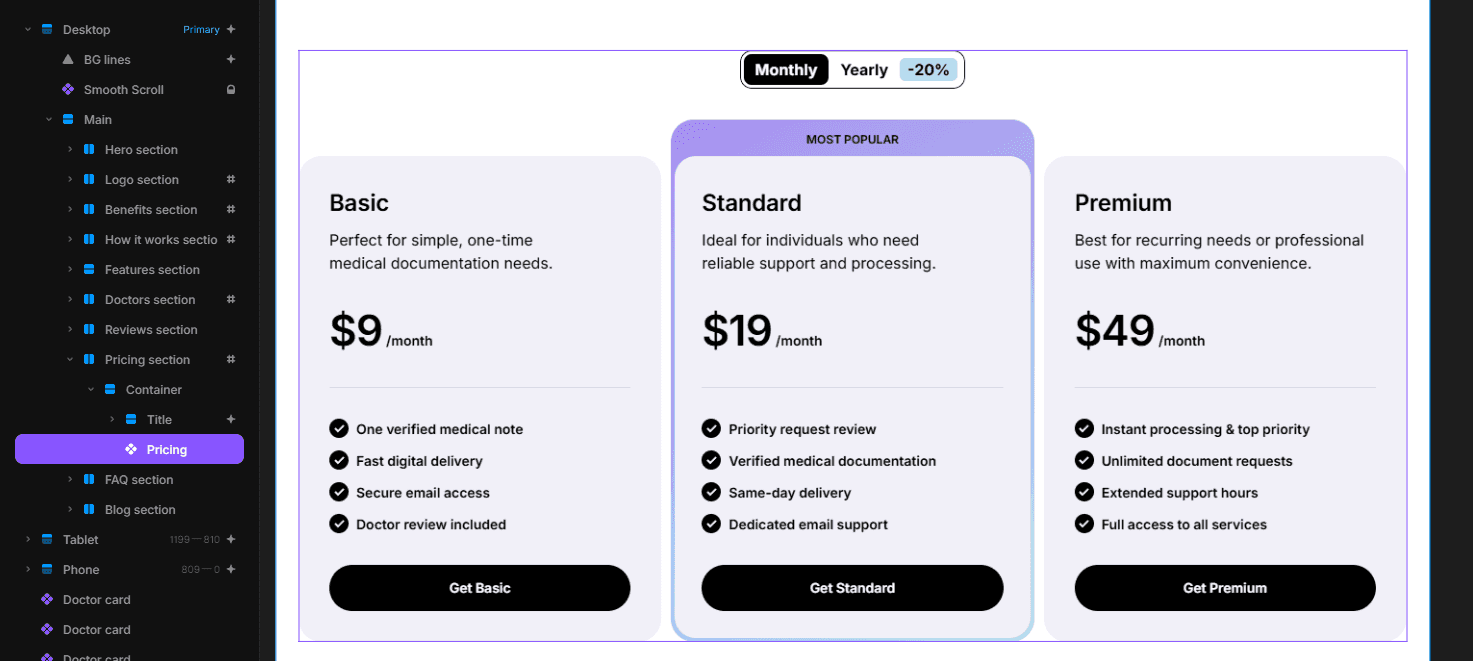
Use the instructions and component controls inside it to change plan names, prices, features, and button settings.
Update the FAQ section
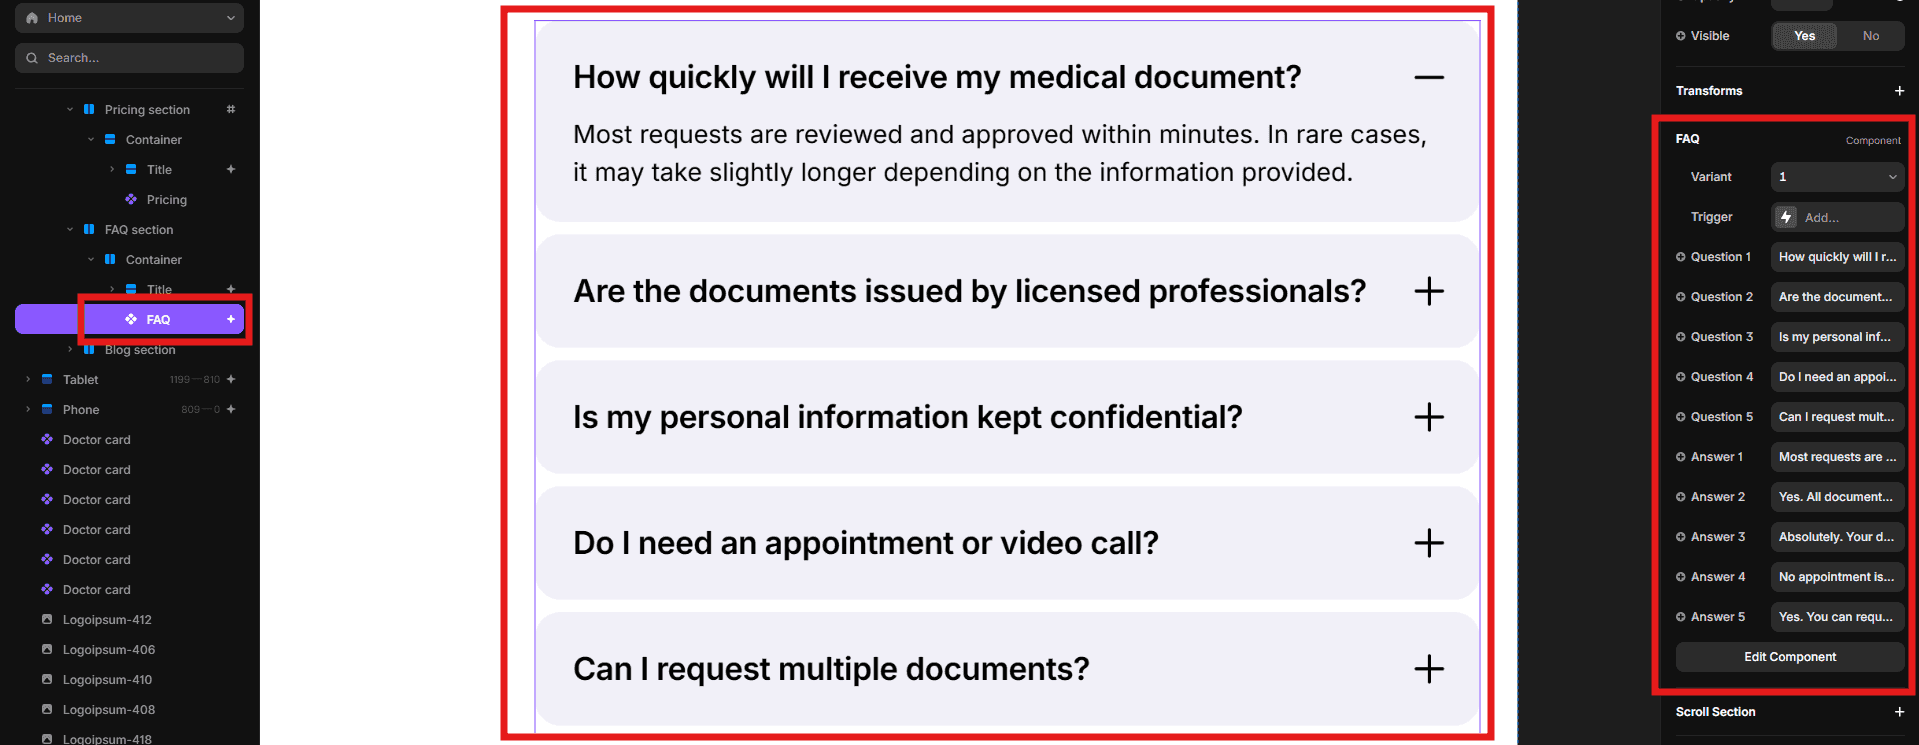
Select the FAQ component and replace its questions and answers in the right-side component controls.
Manage blog content through the CMS
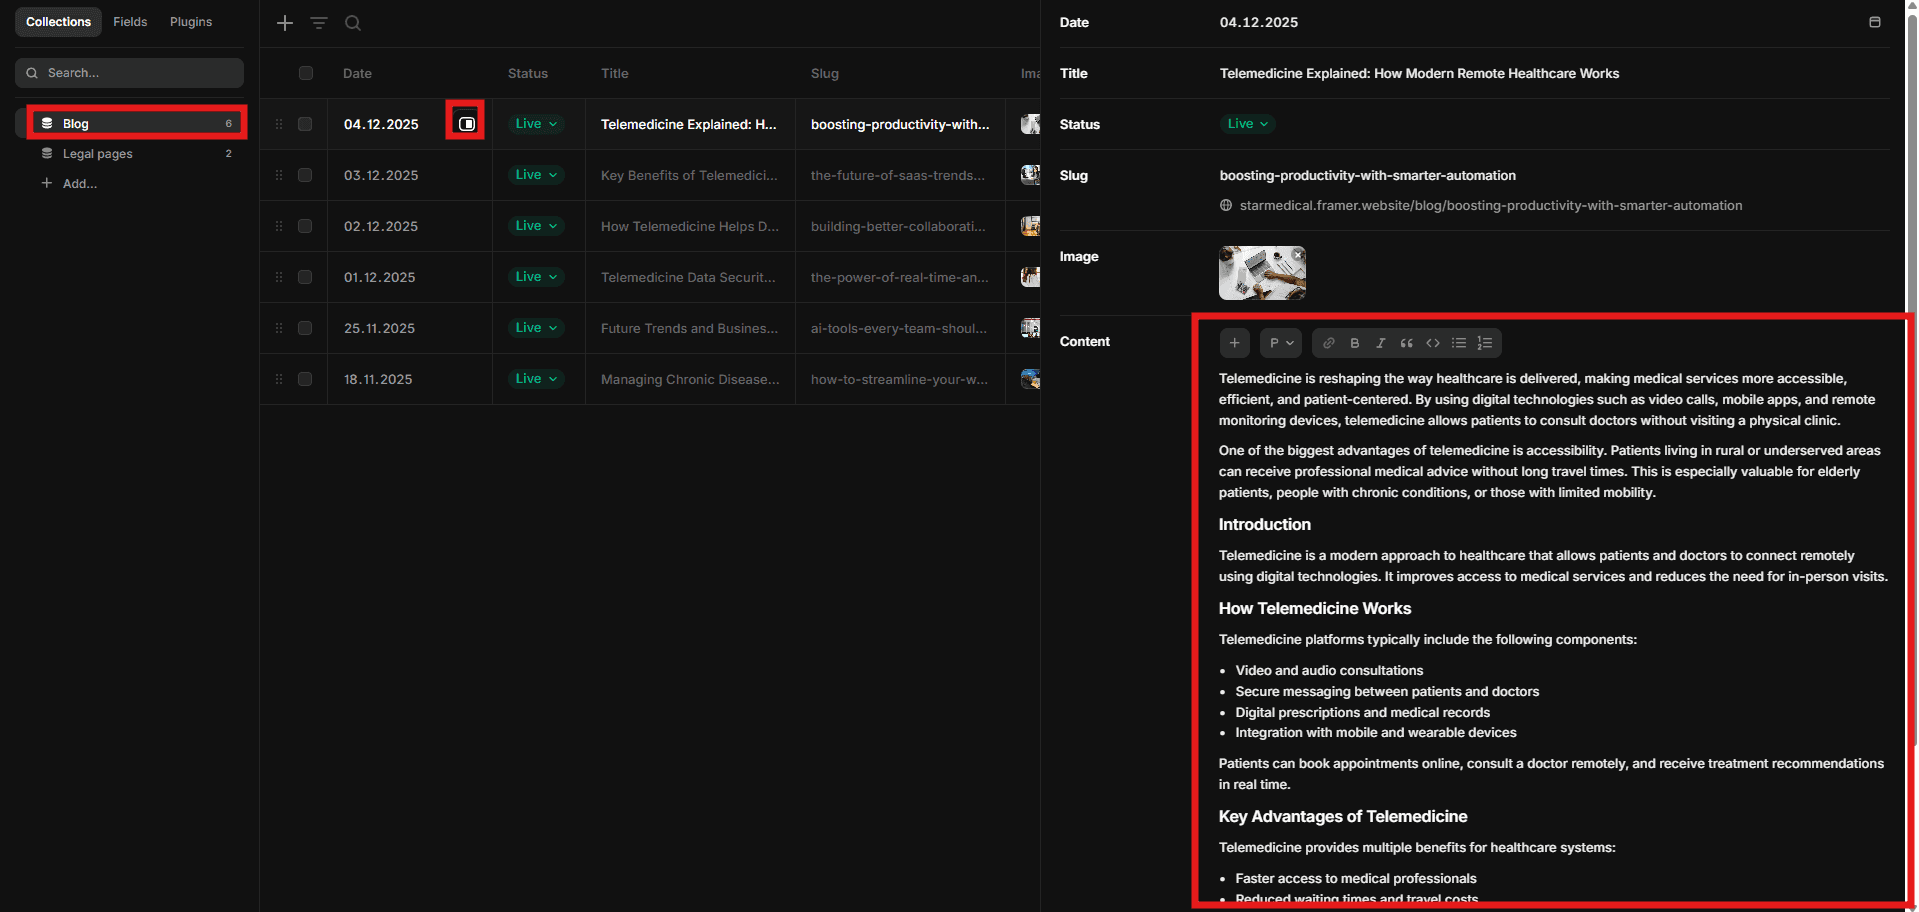
Open the CMS panel from the top toolbar and choose the Blog collection.

Select a blog entry and update its title, summary, cover image, and formatted article content. The blog listing and individual article page will update from the CMS.
Update the footer
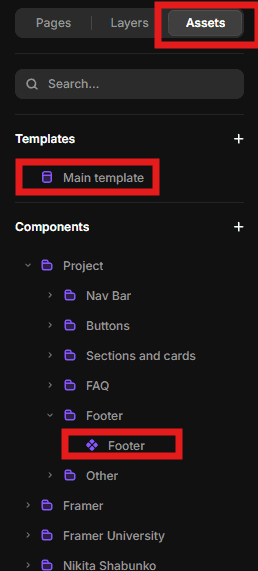
Select the Footer component and replace its navigation, contact details, labels, and links directly inside the component.
Check responsive layouts
After replacing the content, inspect the desktop, tablet, and phone breakpoints. Check long headings, pricing cards, doctor profiles, FAQ items, navigation labels, and images. Make breakpoint-specific adjustments only where the layout needs them.
Final checklist
Replace all placeholder text, images, prices, doctor information, and contact details
Review every Blog CMS entry
Test navigation, buttons, forms, email links, and external destinations
Check desktop, tablet, and phone layouts
Update page titles, descriptions, social images, and domain settings
Start with Starmedica
Starmedica gives telemedicine services, online clinics, and digital healthcare providers a trust-focused Framer website with pricing, doctor profiles, FAQs, and CMS-powered articles. Explore the Starmedica template and preview it in Framer.


