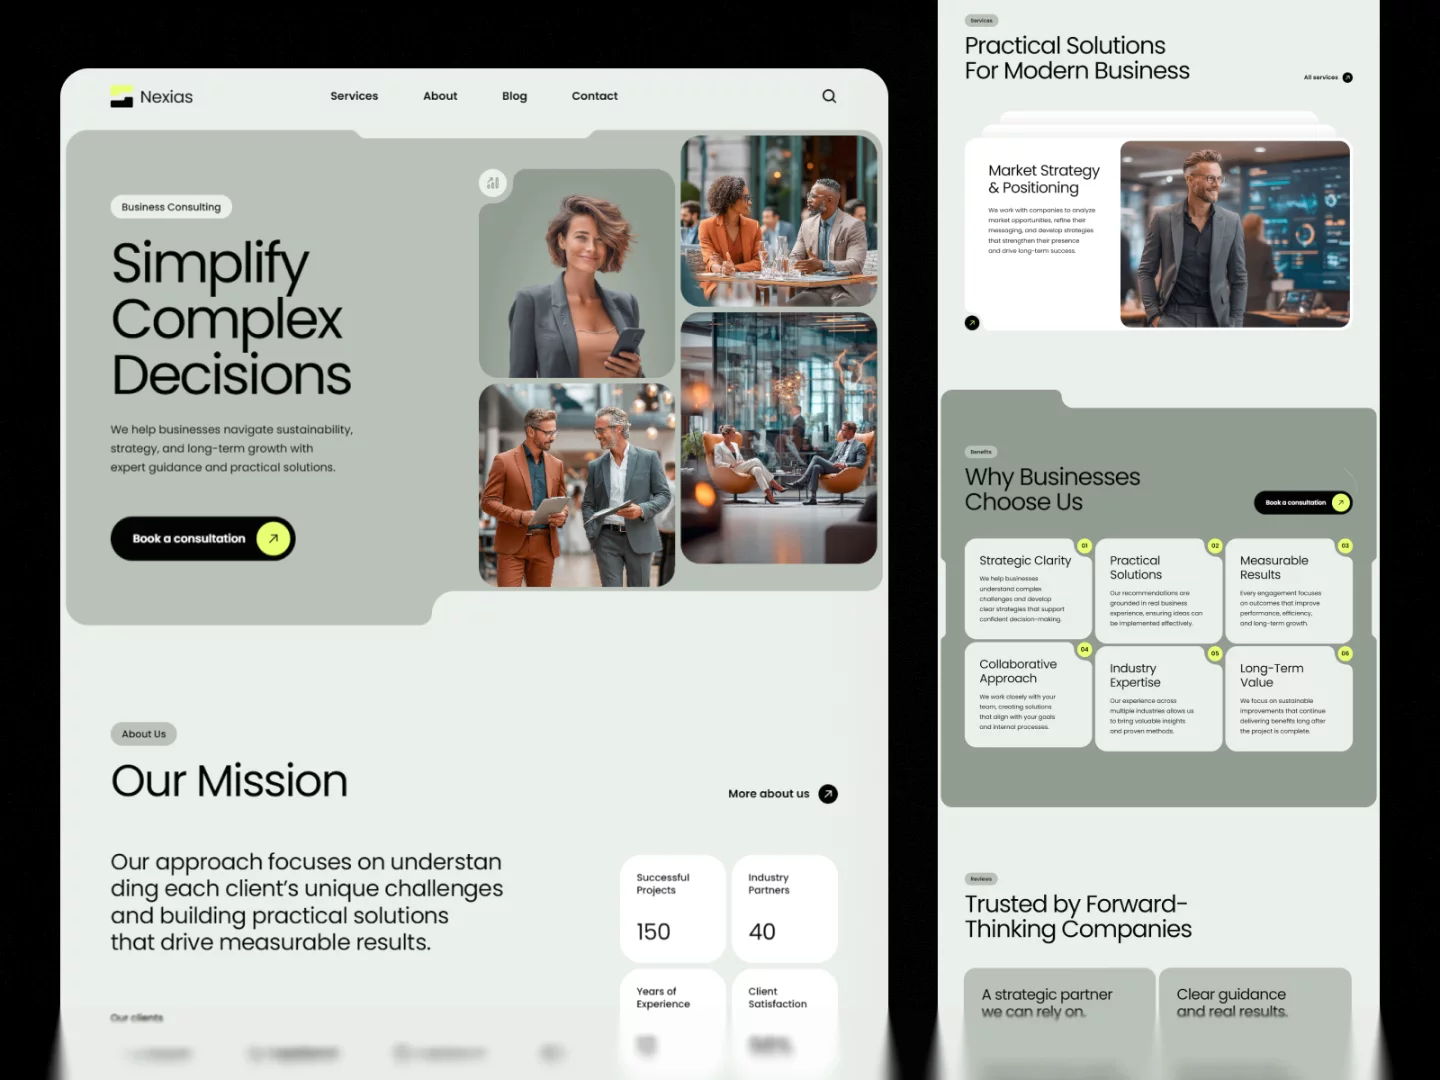
This guide explains how to customize the Nexias Framer template using its existing components and CMS collections. Follow each short instruction and use the screenshot directly below it to find the correct layer or setting.
View the Nexias Framer template
Before you start
Remix Nexias into your Framer workspace and duplicate the project before making major structural changes. Start with the desktop breakpoint, then review tablet and phone after adding your content.
Change the hero and mission sections
To replace the hero images, select each image and choose a new asset in the right-side properties panel.
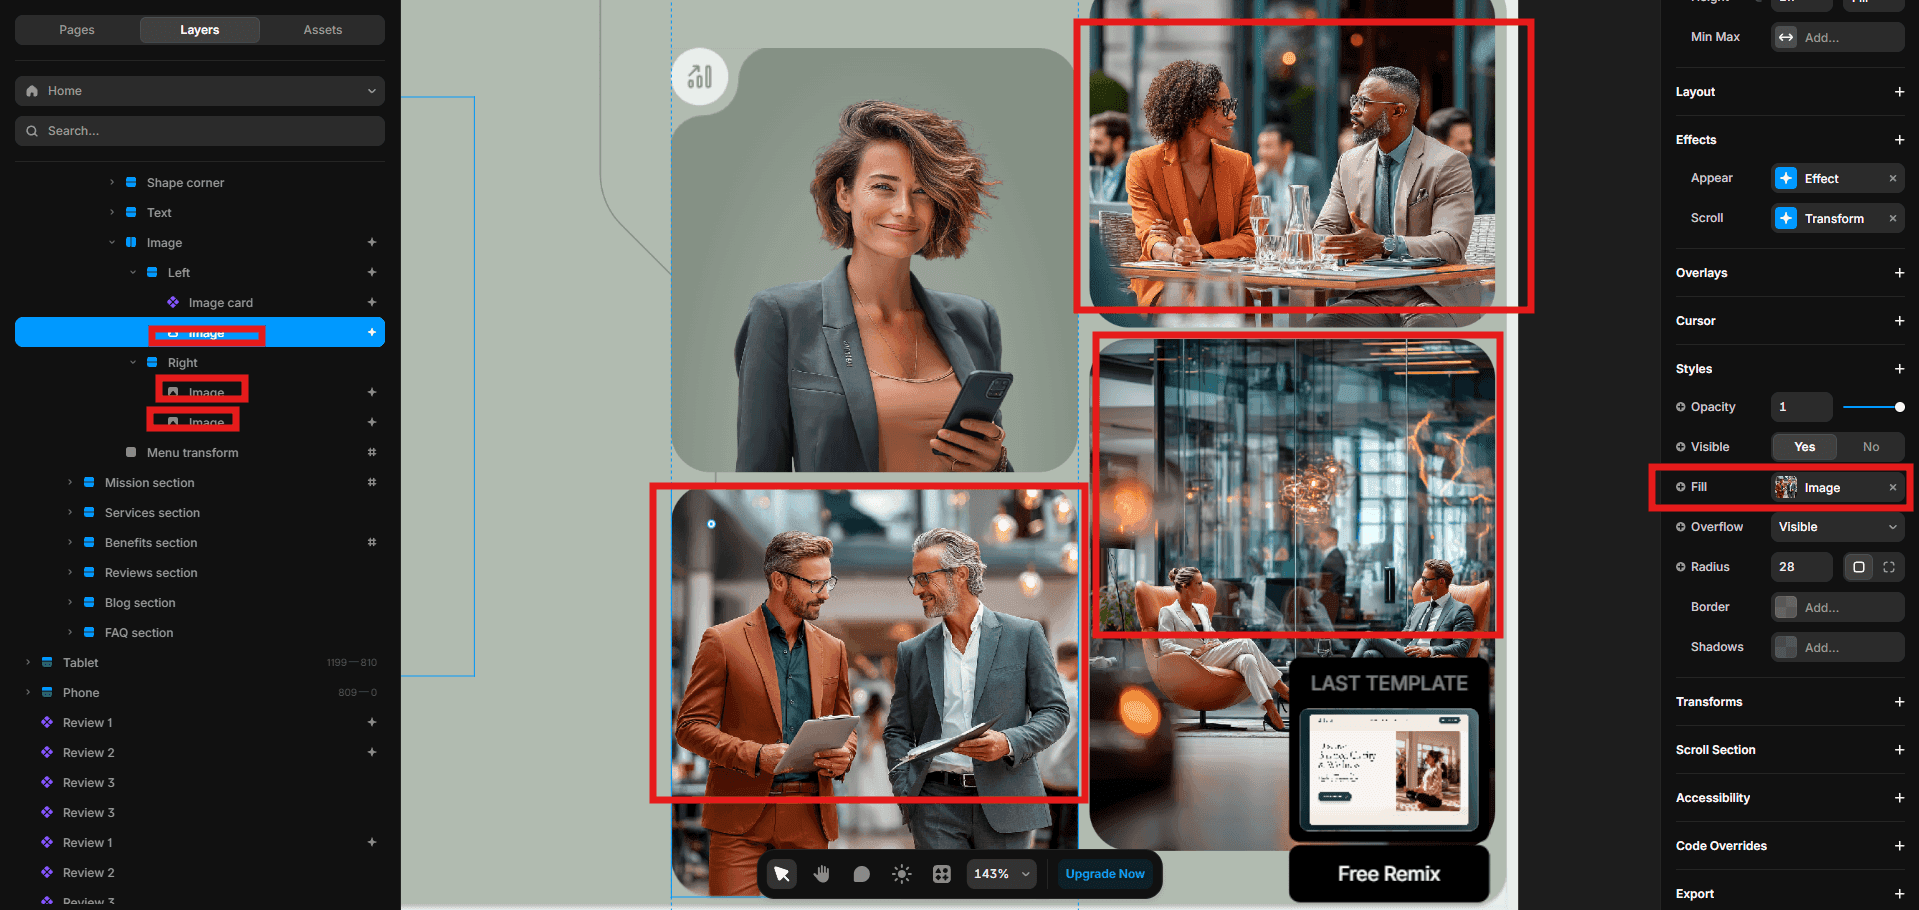
For the main cutout image, use a transparent PNG. Select the image layer to replace the file and adjust its position.
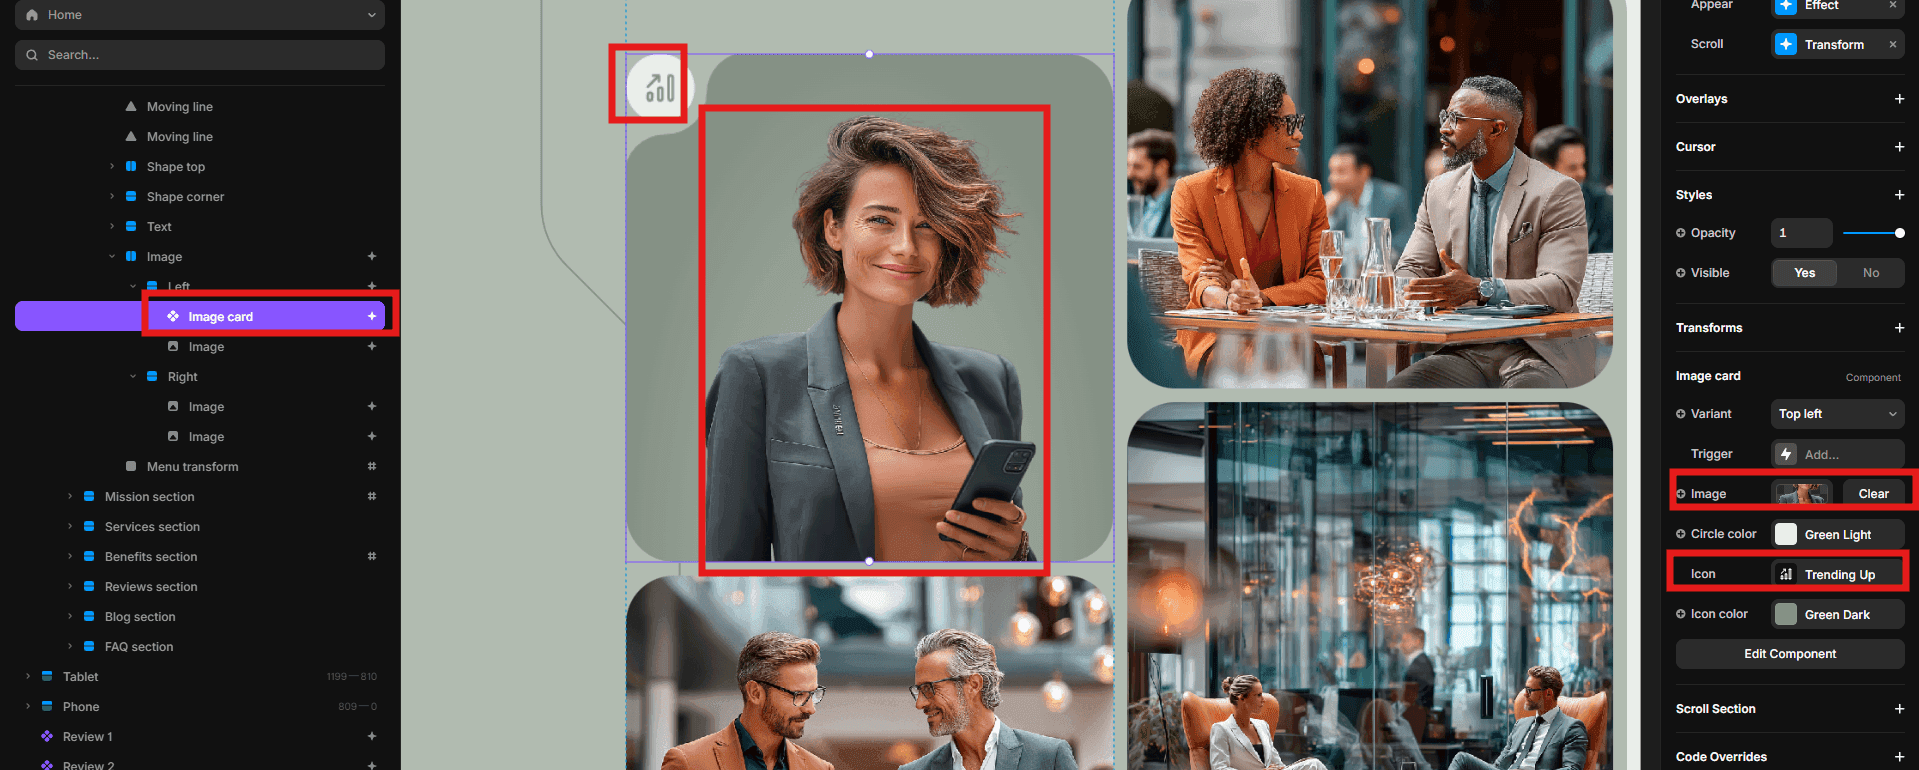
To change the eyebrow tag, select the tag and update its text in the component properties. You can customize its icon from the same panel.

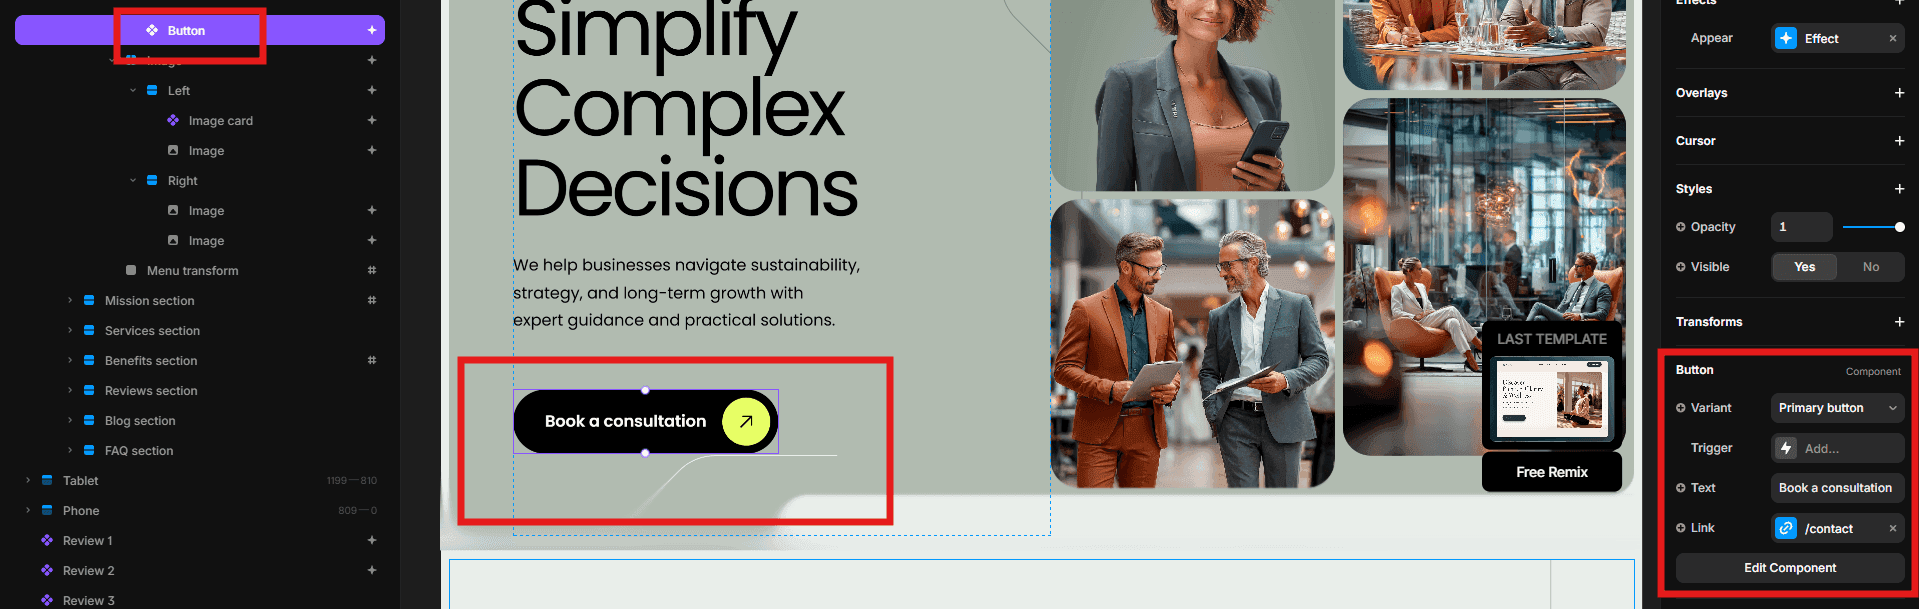
To change the hero button, select it and update both the button label and destination link in the right-side panel.
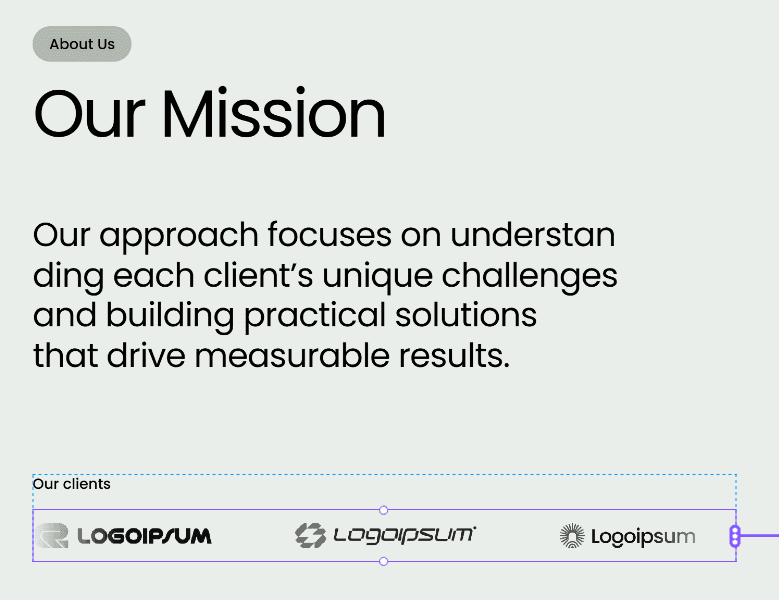
Select the logo ticker to reveal the connected logo layers, then replace the placeholder graphics with your own client or partner logos.
To update the statistics, select each stat card and replace its number and label in the component properties.

Edit the navigation and footer
Open the Assets panel and locate the Navigation and CTA and Footer components used by the template.
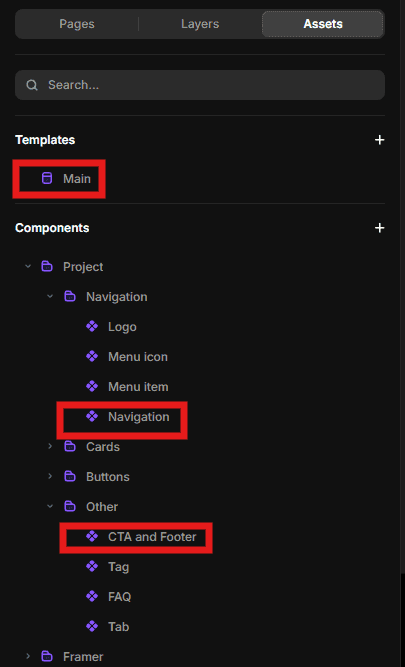
Open the Navigation component, select a menu item, and update its text and link in the right-side panel.

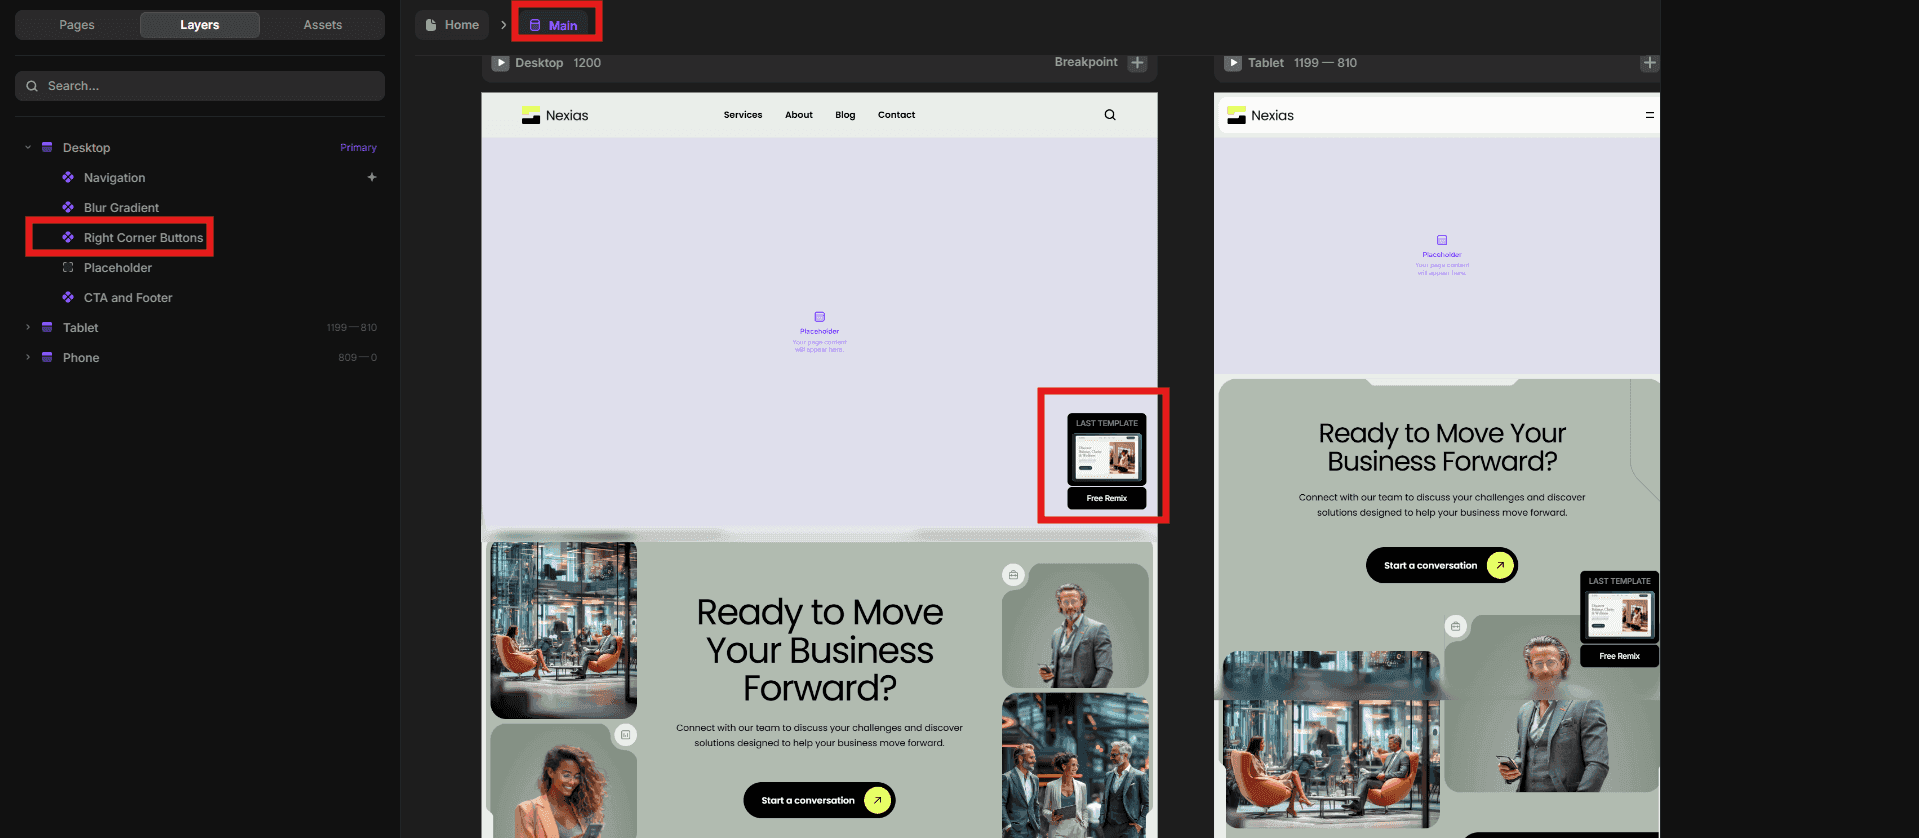
If you do not need the floating corner button, open the main template component and remove that layer from the Layers panel.
Update services through the CMS
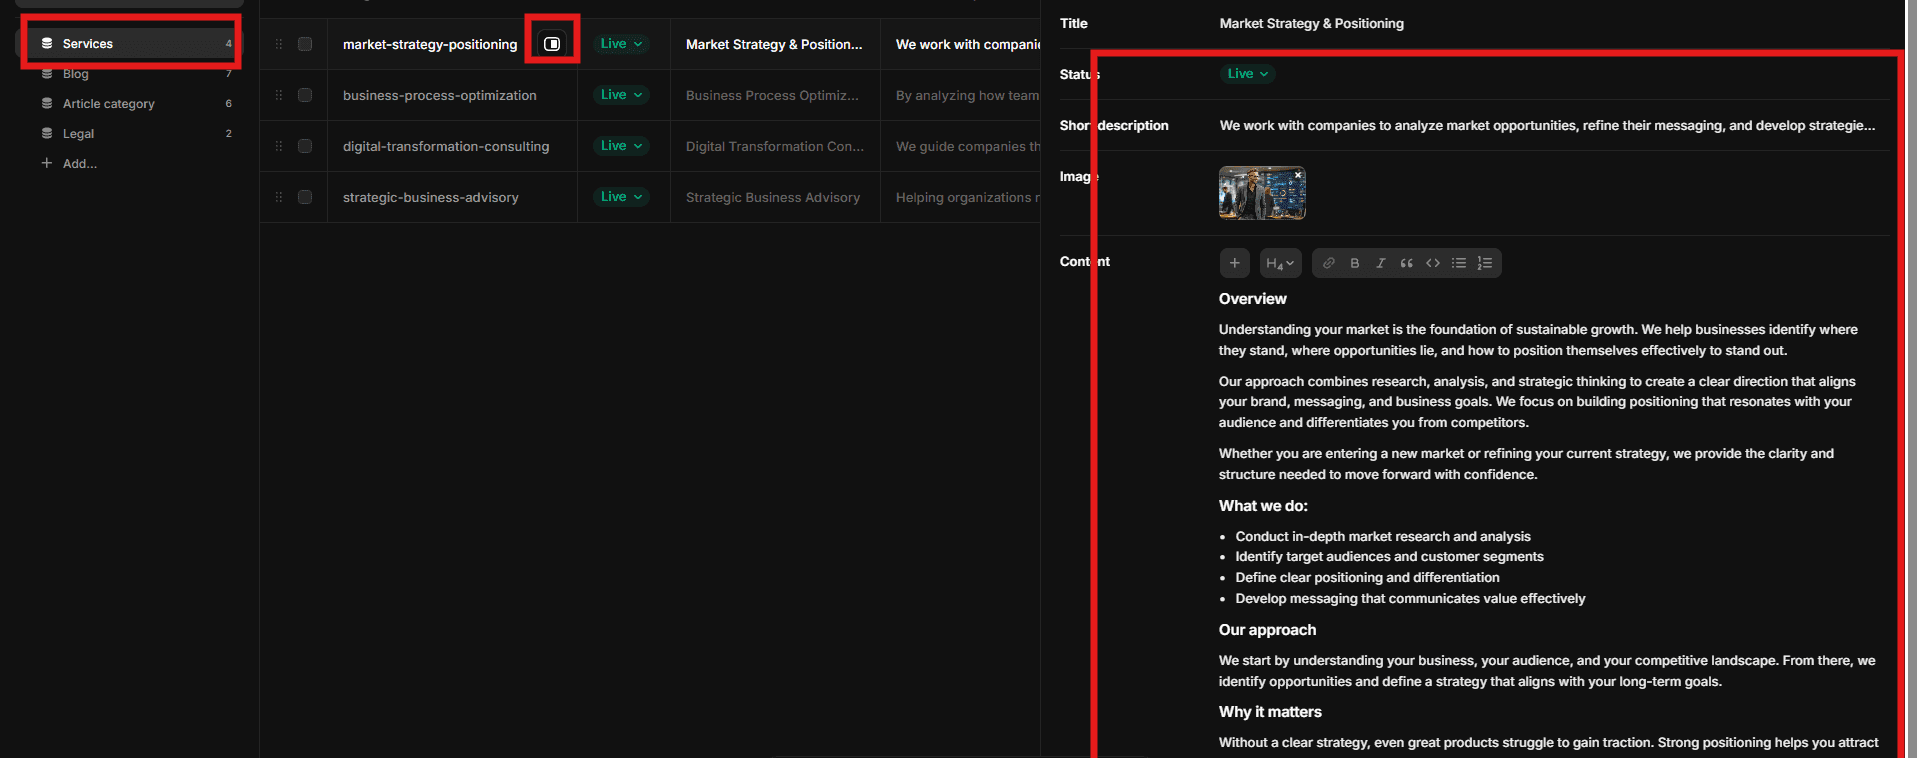
Open the CMS panel from the left toolbar and choose the Services collection.

Select a service entry and update its title, summary, detailed content, images, and supporting information directly in the CMS table.
Customize the Benefits section
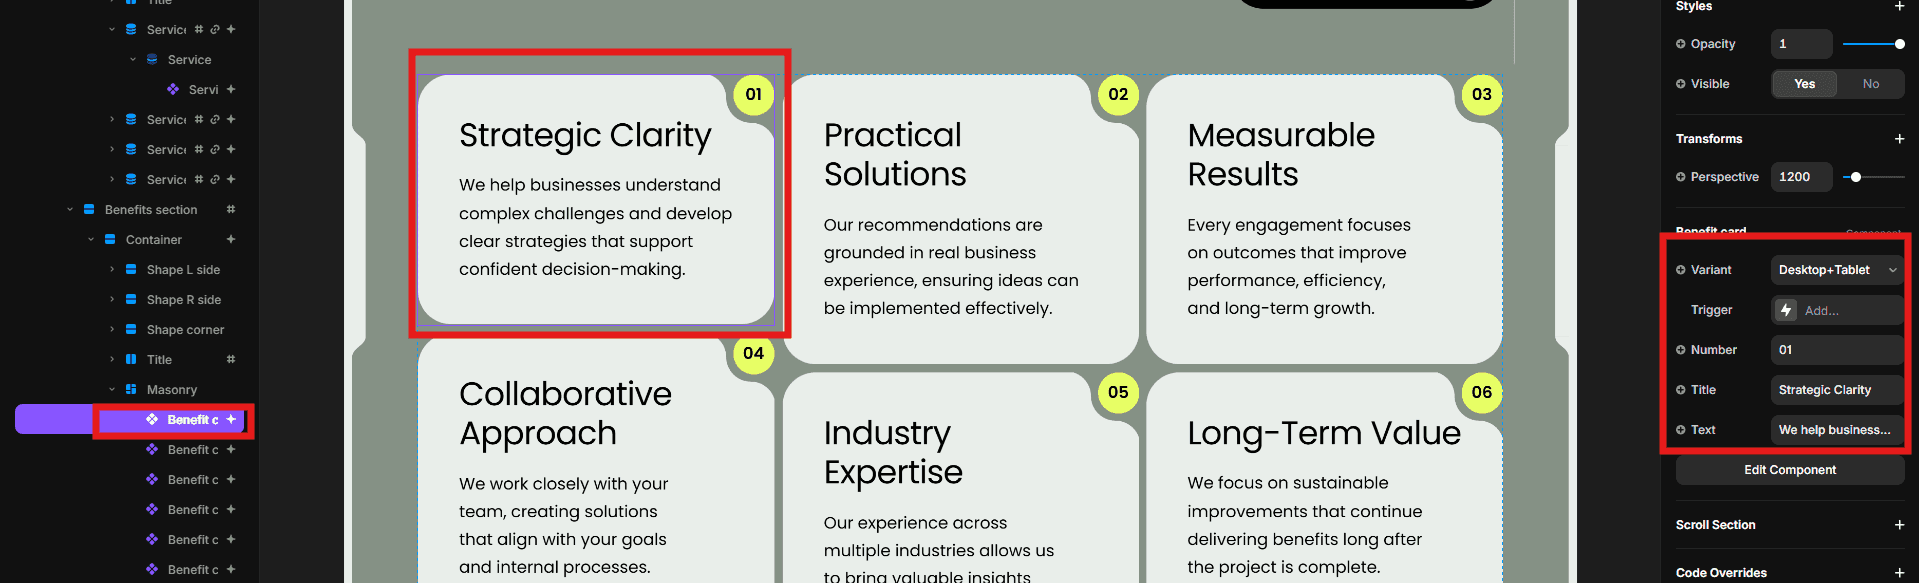
Select a benefit card and change its title and description through the component properties in the right-side panel.
Customize the Reviews section
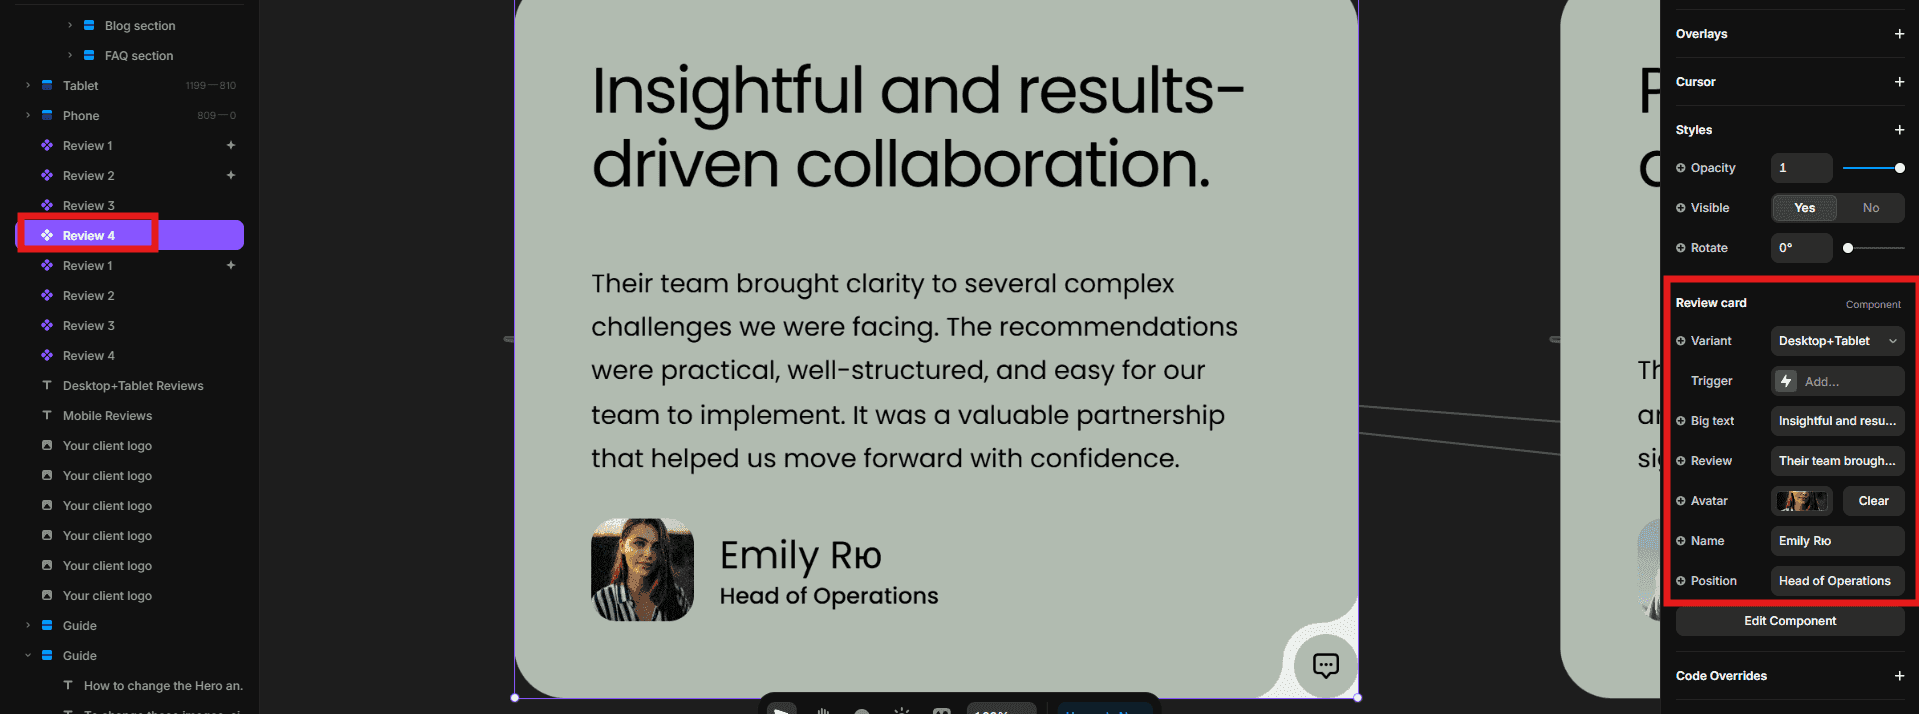
Select each review card and replace the quotation, customer name, and role. Check both desktop and mobile versions because their presentation differs.
Manage the blog
Open the CMS panel and choose the Blog collection.
Select an article to edit its title, summary, category, cover image, and formatted content. The Blog listing and dynamic article page update automatically.

Customize the FAQ section
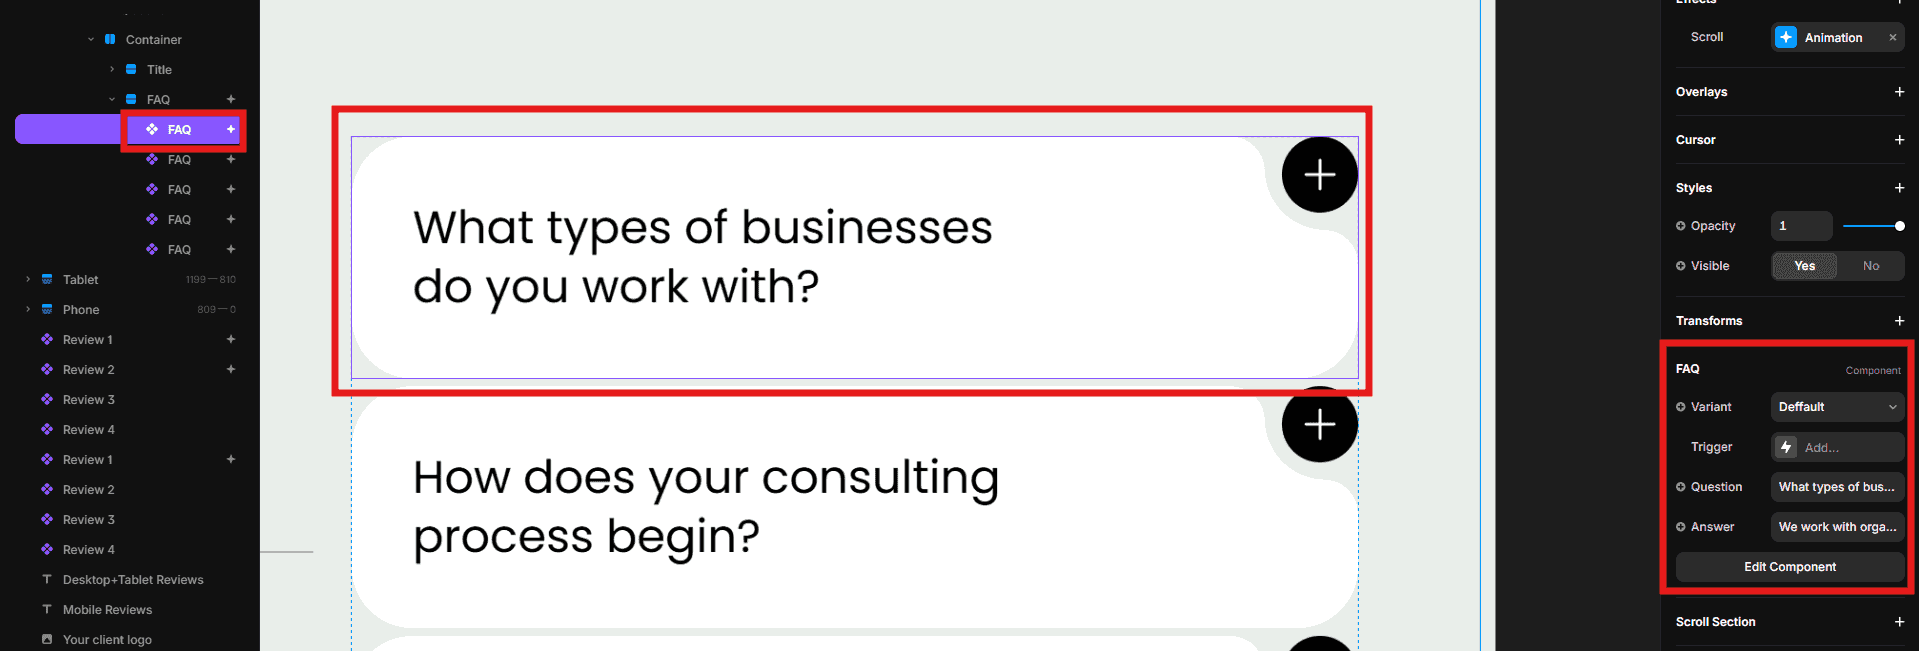
Select an FAQ item and replace its question and answer using the component controls in the right-side panel.
Customize the About page
Select each stat card on the About page and replace its number and label in the component properties.
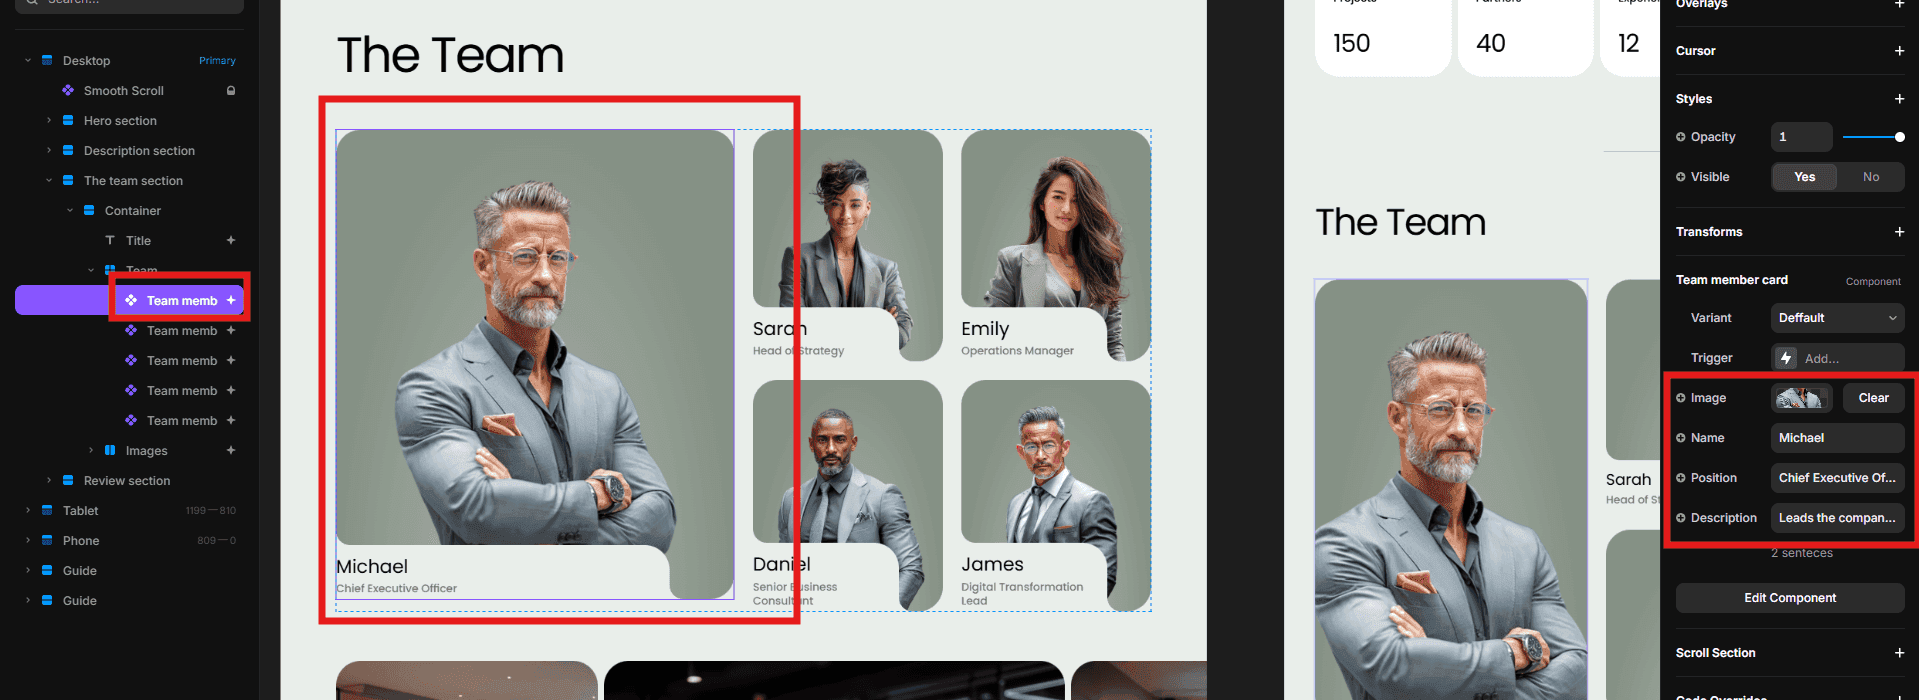
Select a team member card to change the portrait, name, and position. Keep portrait crops consistent across the team.
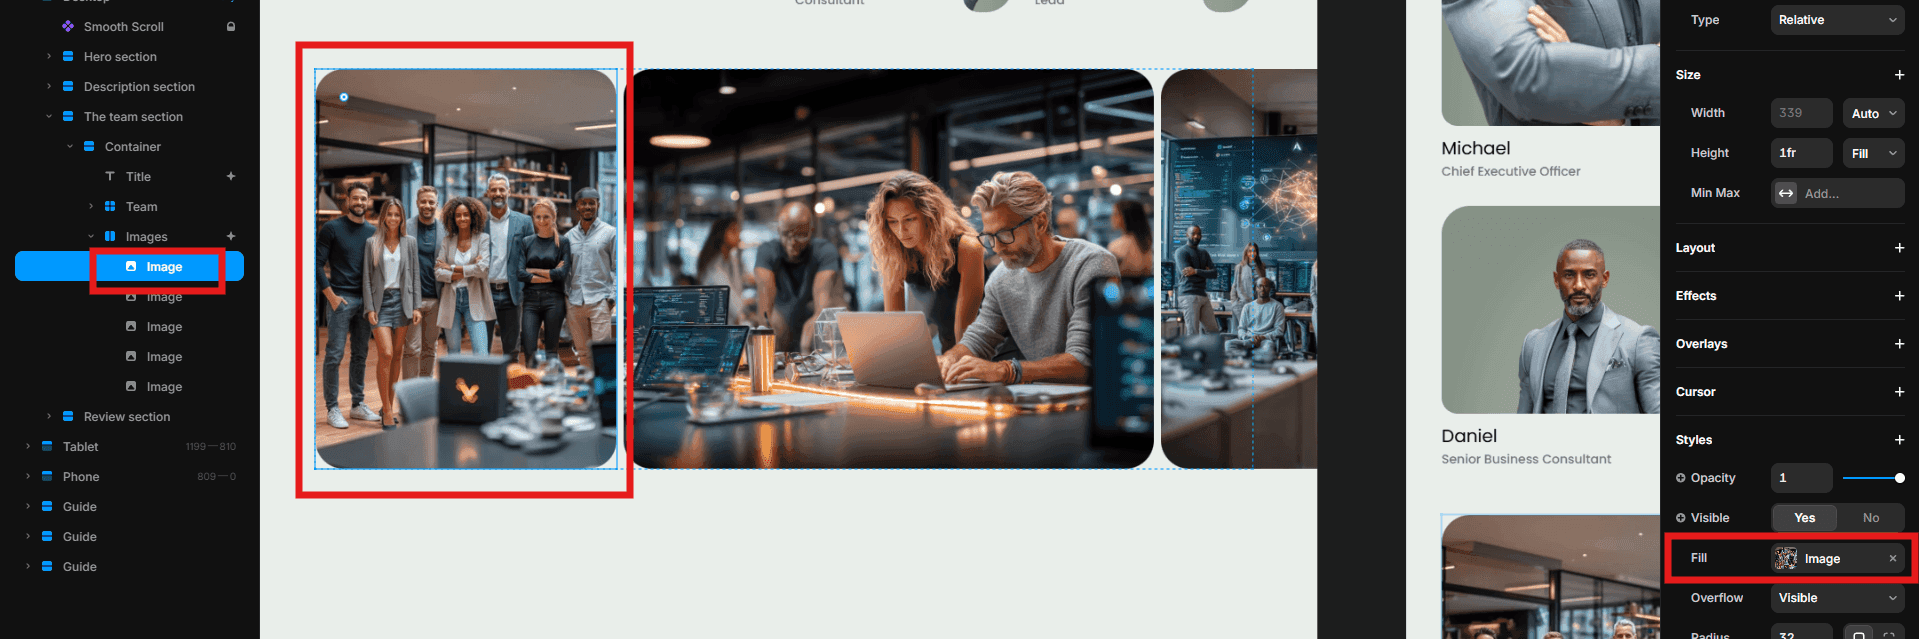
Replace the supporting gallery images by selecting each image frame and choosing a new asset in the right-side panel.
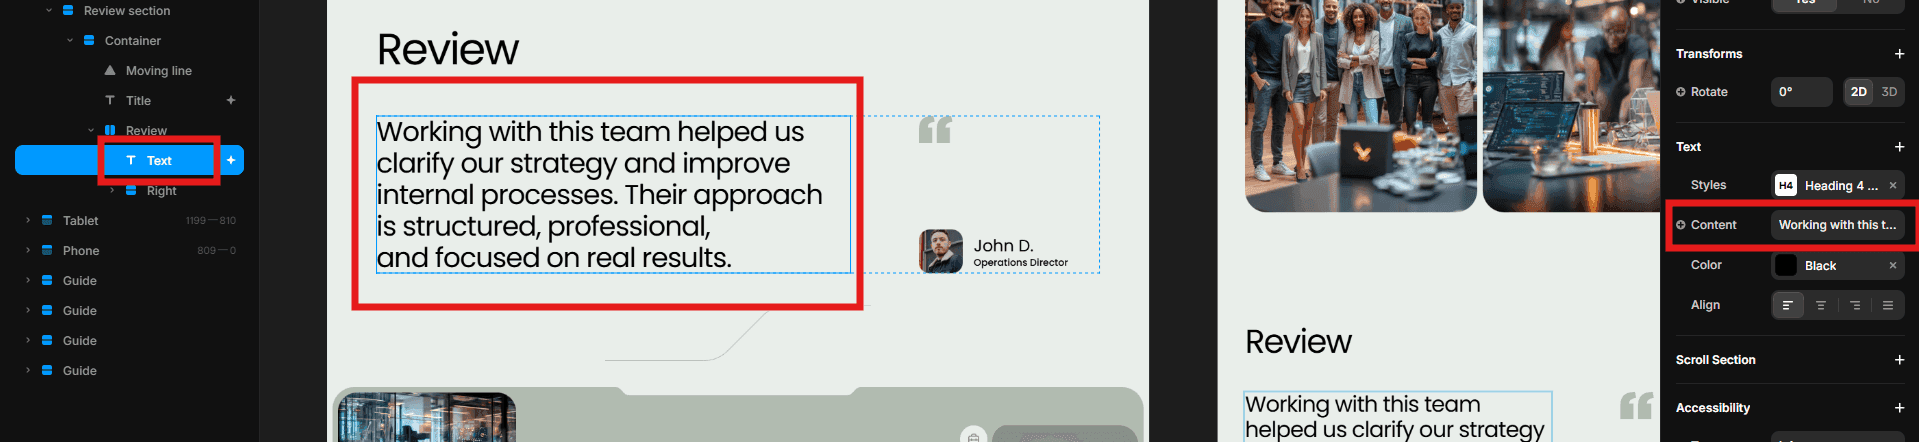
Select the review text on the About page and replace the quotation and attribution.
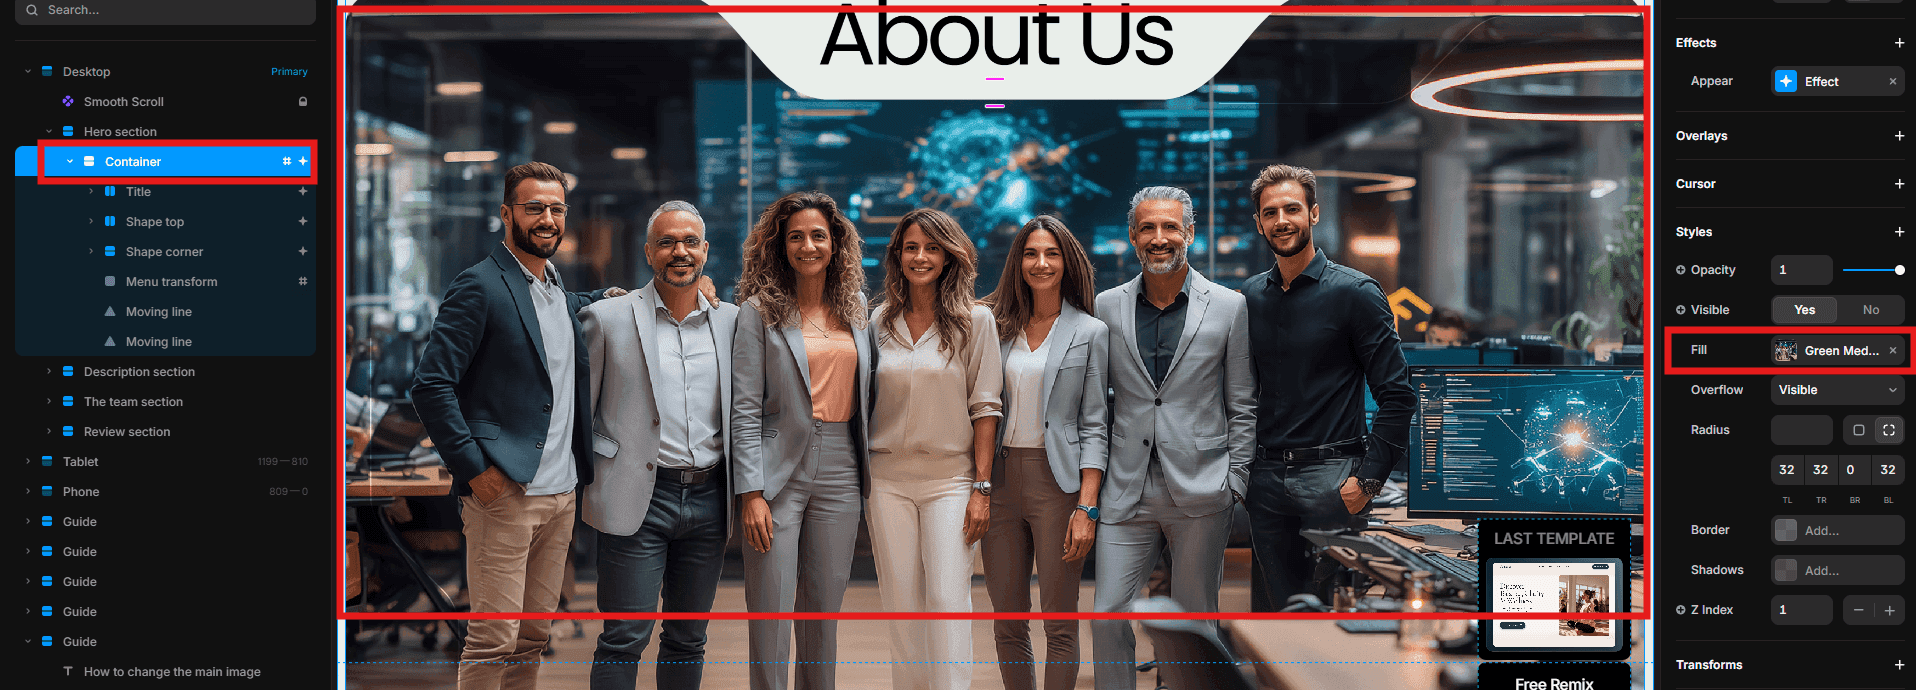
To replace the main About image, select its container and choose a new image in the right-side panel.
Customize the Contact page
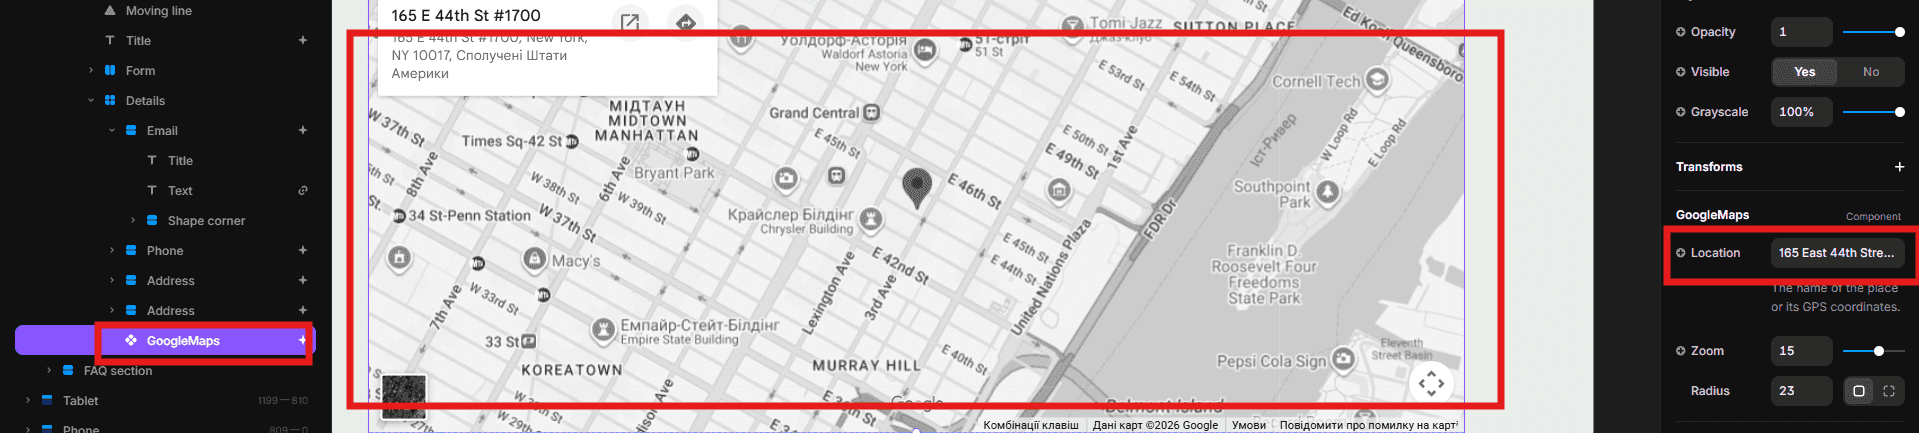
Select a contact detail card to access its editable information.
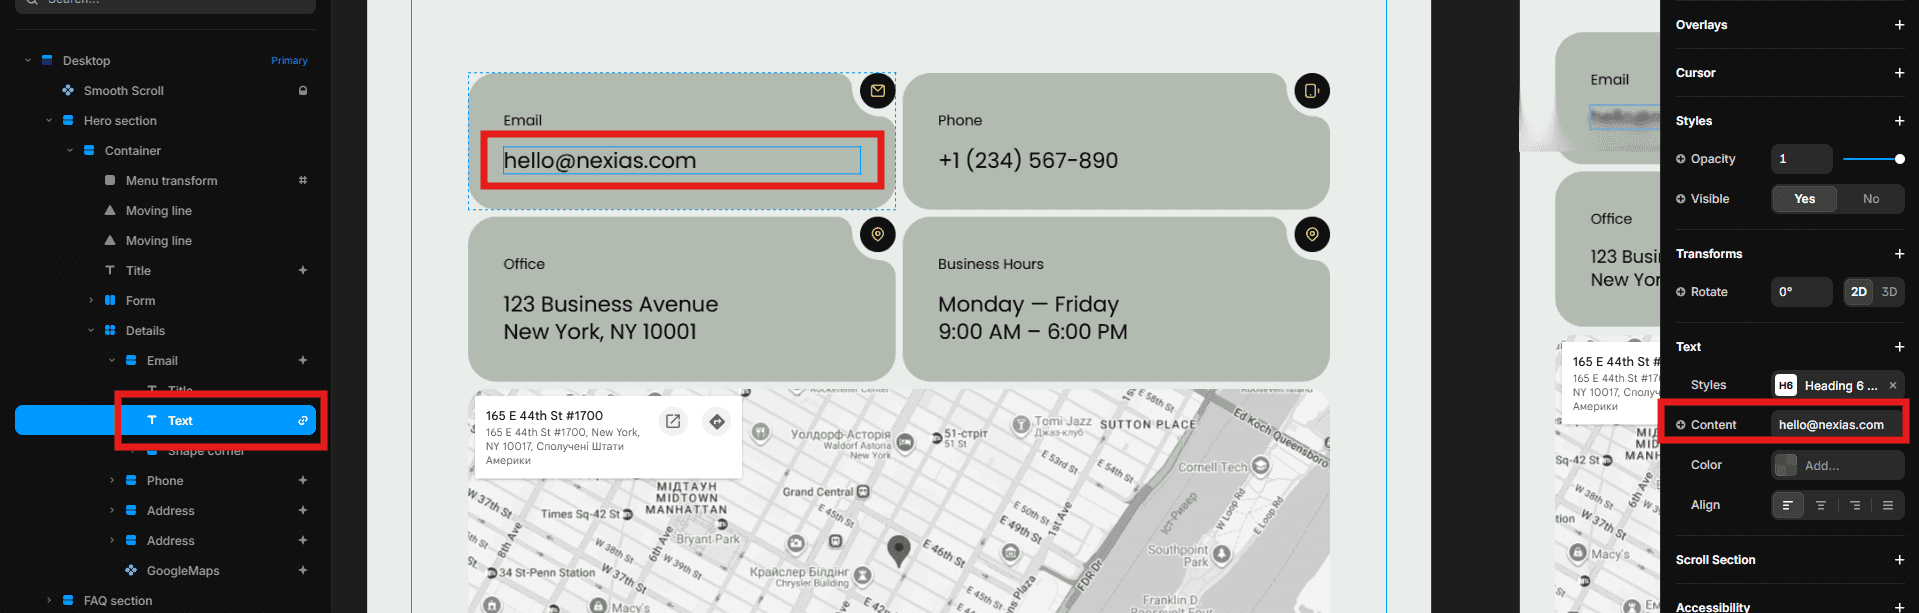
Replace the email, phone number, address, office hours, or link in the right-side component properties.
Edit service detail pages
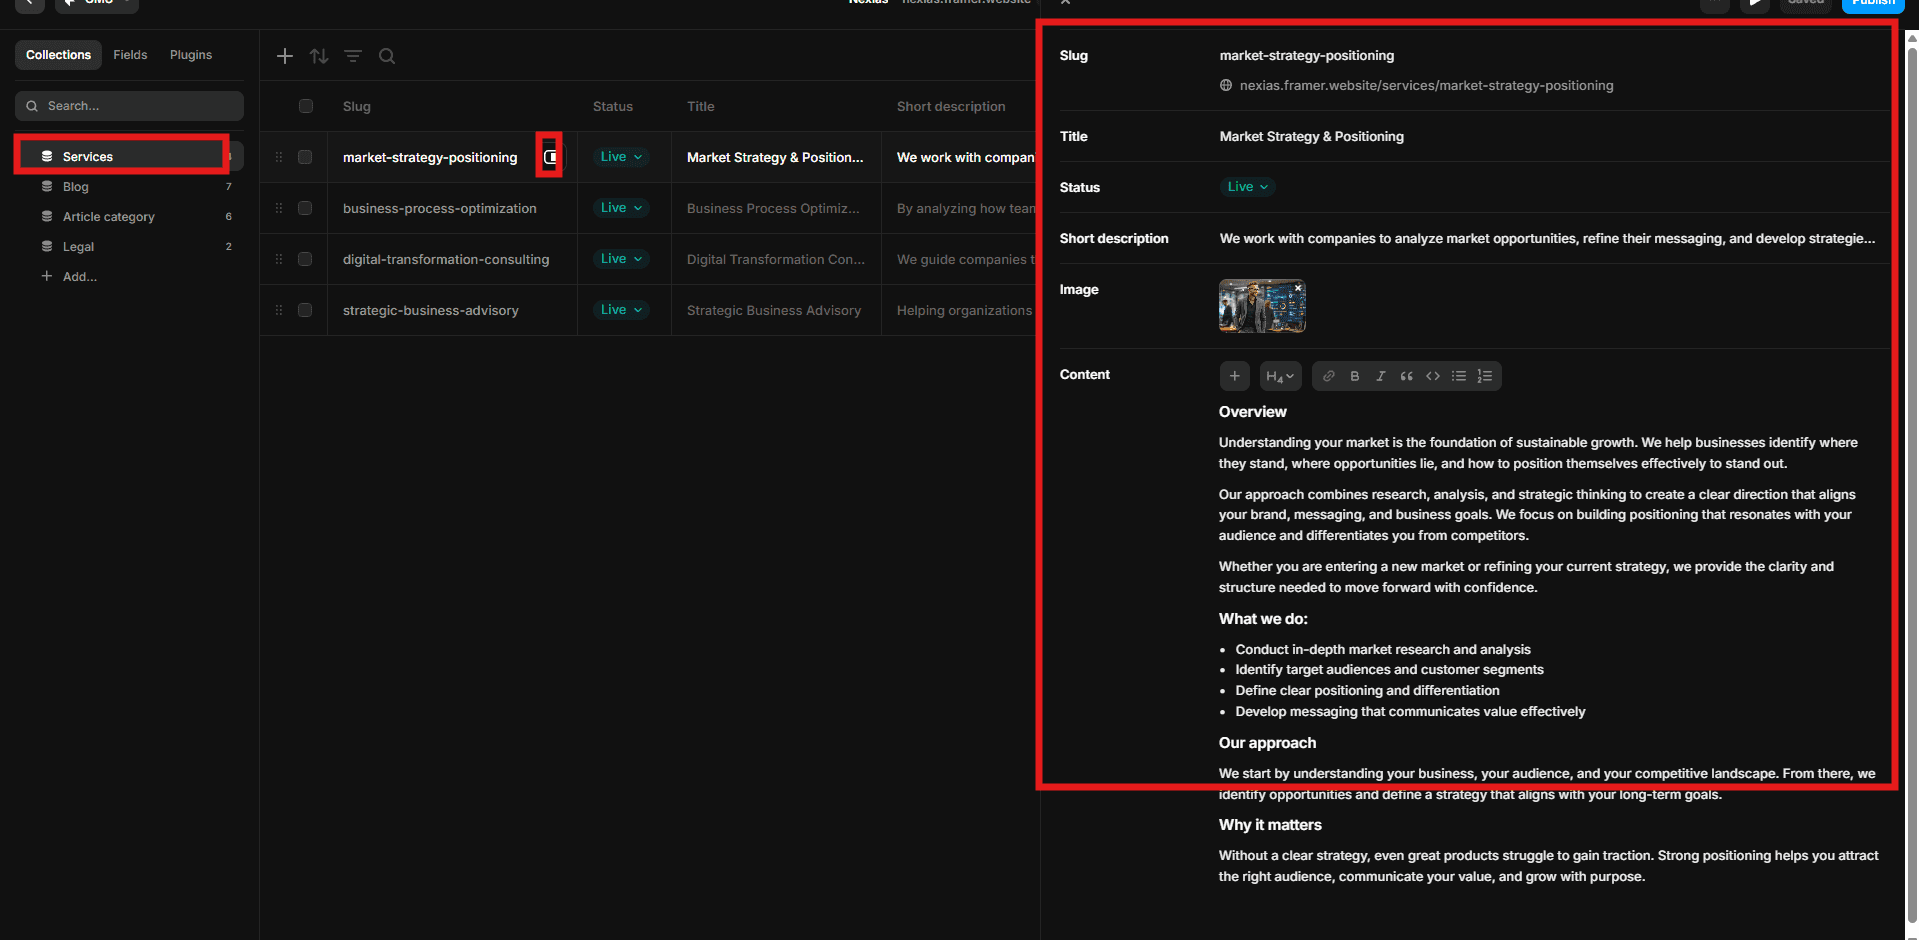
Open the CMS panel and choose the Services collection instead of typing directly on the dynamic page.
Select the relevant service entry and update the content used by its dynamic detail page.
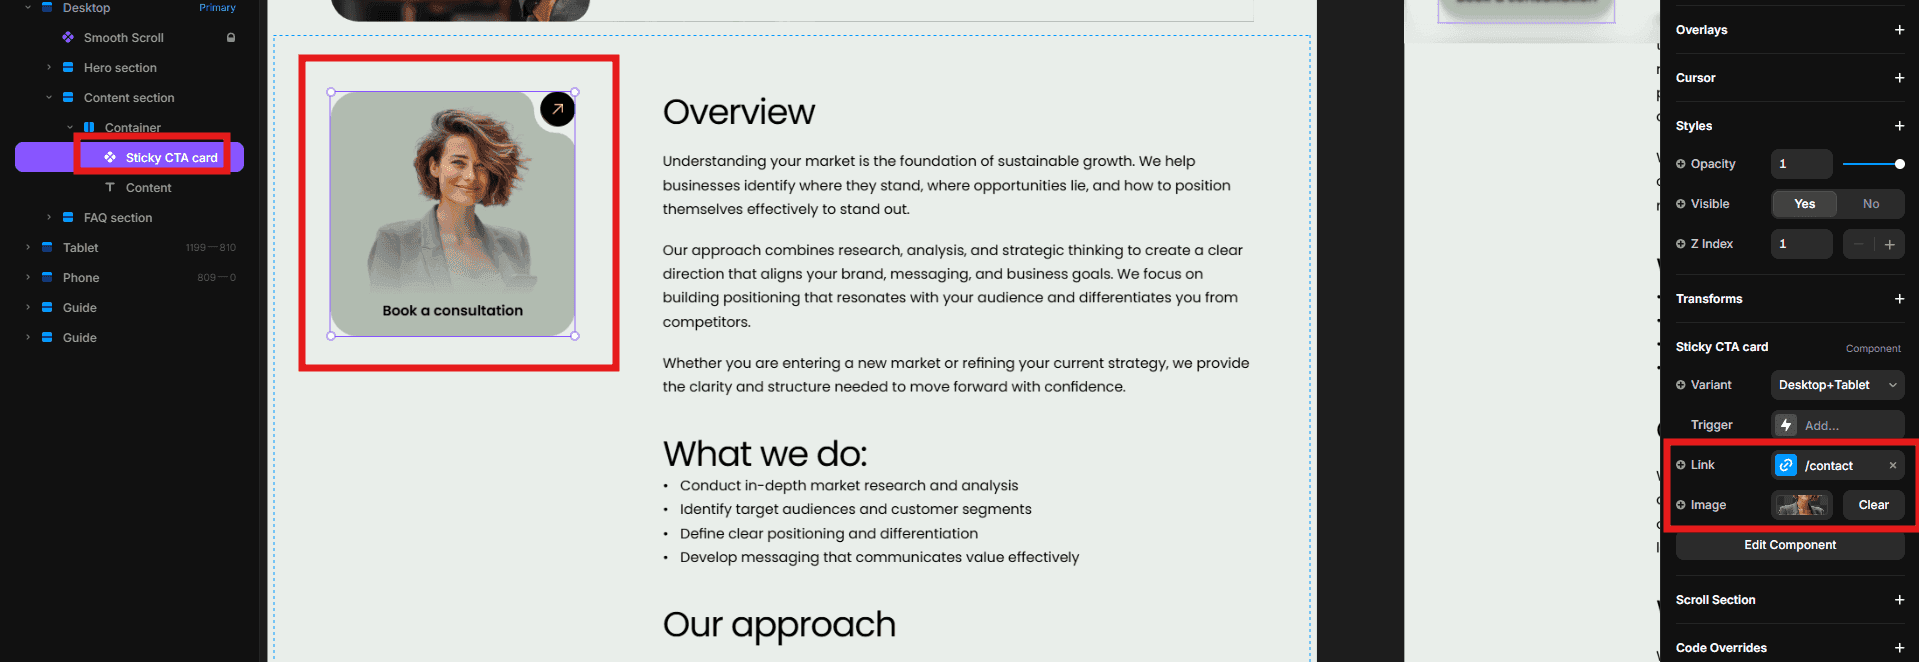
The consultation card is a regular component. Select it on the service detail page to change its text and destination link.
Edit blog detail pages
Open the CMS panel and choose the Blog collection to manage dynamic article pages.
Edit the selected article inside the CMS. Its title, image, summary, and body content will update on the corresponding blog detail page.
Update legal pages
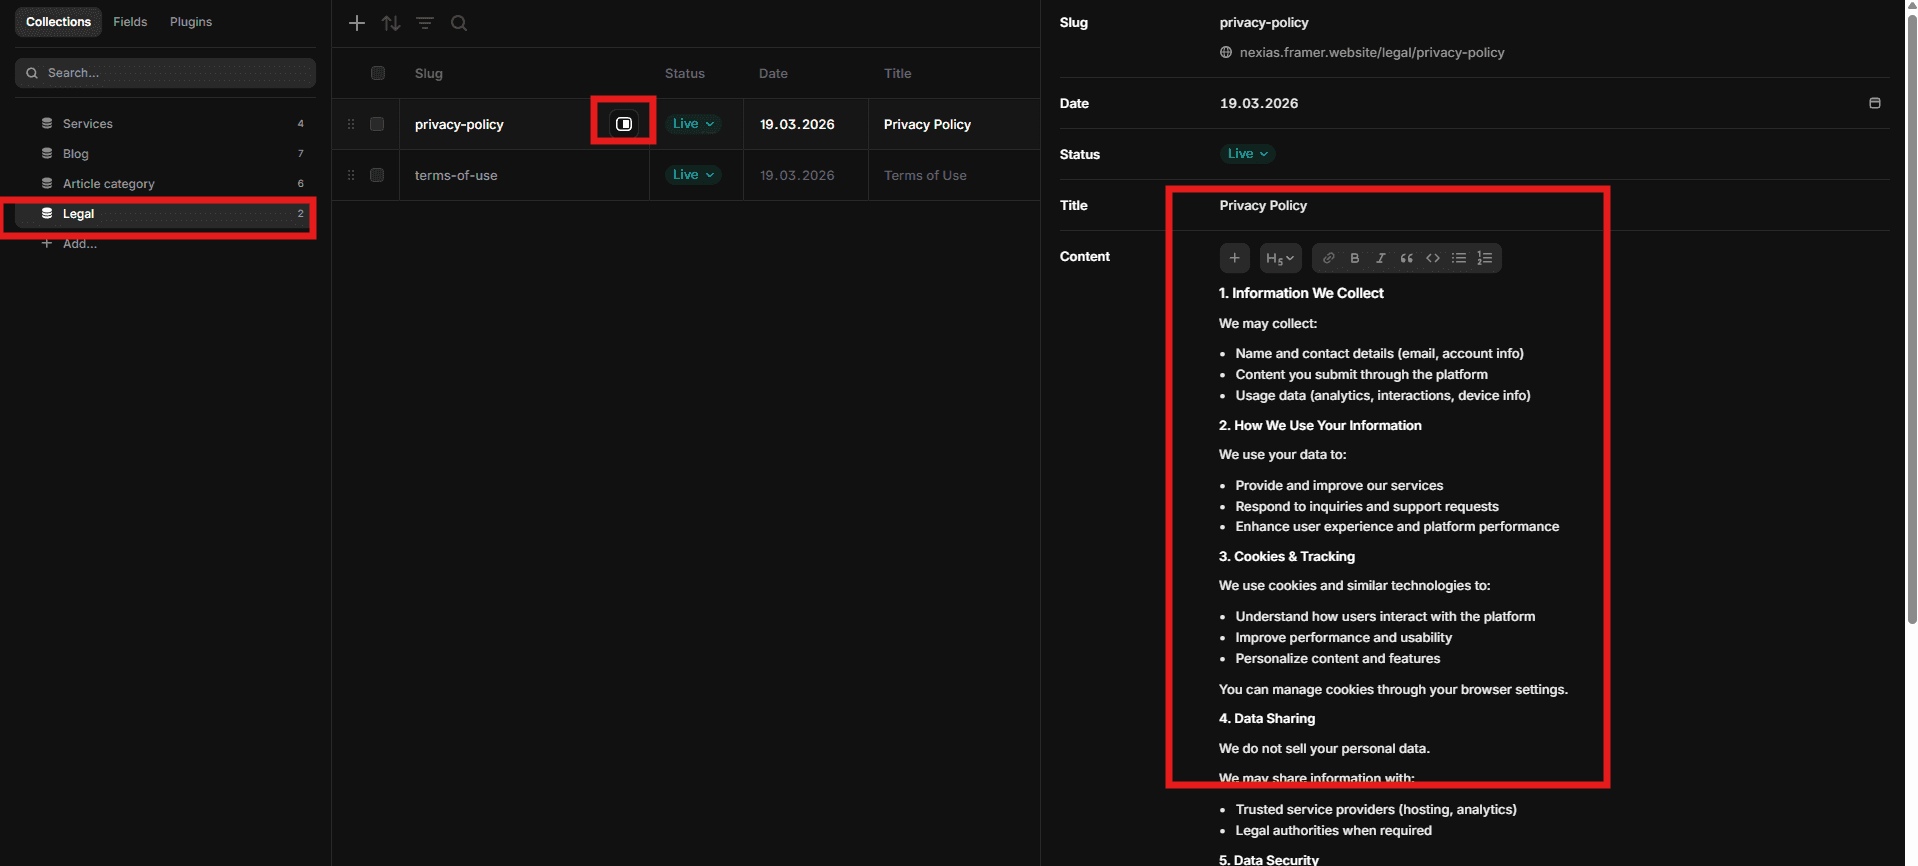
Open the CMS panel and choose the Legal collection.
Select Privacy Policy or Terms of Use and replace the formatted content with information appropriate for your business.
Check responsive layouts
After replacing the content, inspect desktop, tablet, and phone breakpoints. Pay particular attention to long headings, navigation labels, review cards, team information, service descriptions, and images. Adjust only the breakpoint where a layout issue appears.
Final checklist
Replace all placeholder copy, images, logos, and contact details
Review Services, Blog, and Legal CMS entries
Test every navigation, CTA, email, and external link
Check desktop, tablet, and phone layouts
Update page titles, descriptions, social images, and domain settings
Start with Nexias
Nexias gives consulting firms, agencies, and service businesses a complete responsive website with CMS-powered services and articles. Explore the Nexias template and remix it in Framer.


