
This guide follows the instructions included in the Amorette project and explains how to update the Hero section, engraved portrait, About Story images, Questions section, and RSVP form.
View the Amorette Framer template
Welcome to the Amorette template
Thank you for choosing Amorette. The guides below will help you customize the template and prepare it for your celebration. If you have any questions about the template, need help with a component, or notice an issue, feel free to contact me.
Email: nikitashabunkoua@gmail.com
X / Twitter: x.com/nik_shabunko
How to customize the Hero section
Use the steps below to replace the couple’s information while preserving the composition and animations of the Amorette Hero.
Change the introductory text
Select the eyebrow text above the names and edit it directly on the canvas.
Update the couple’s names
Select the Names component. Change Name 1 and Name 2 in the right-side properties panel.
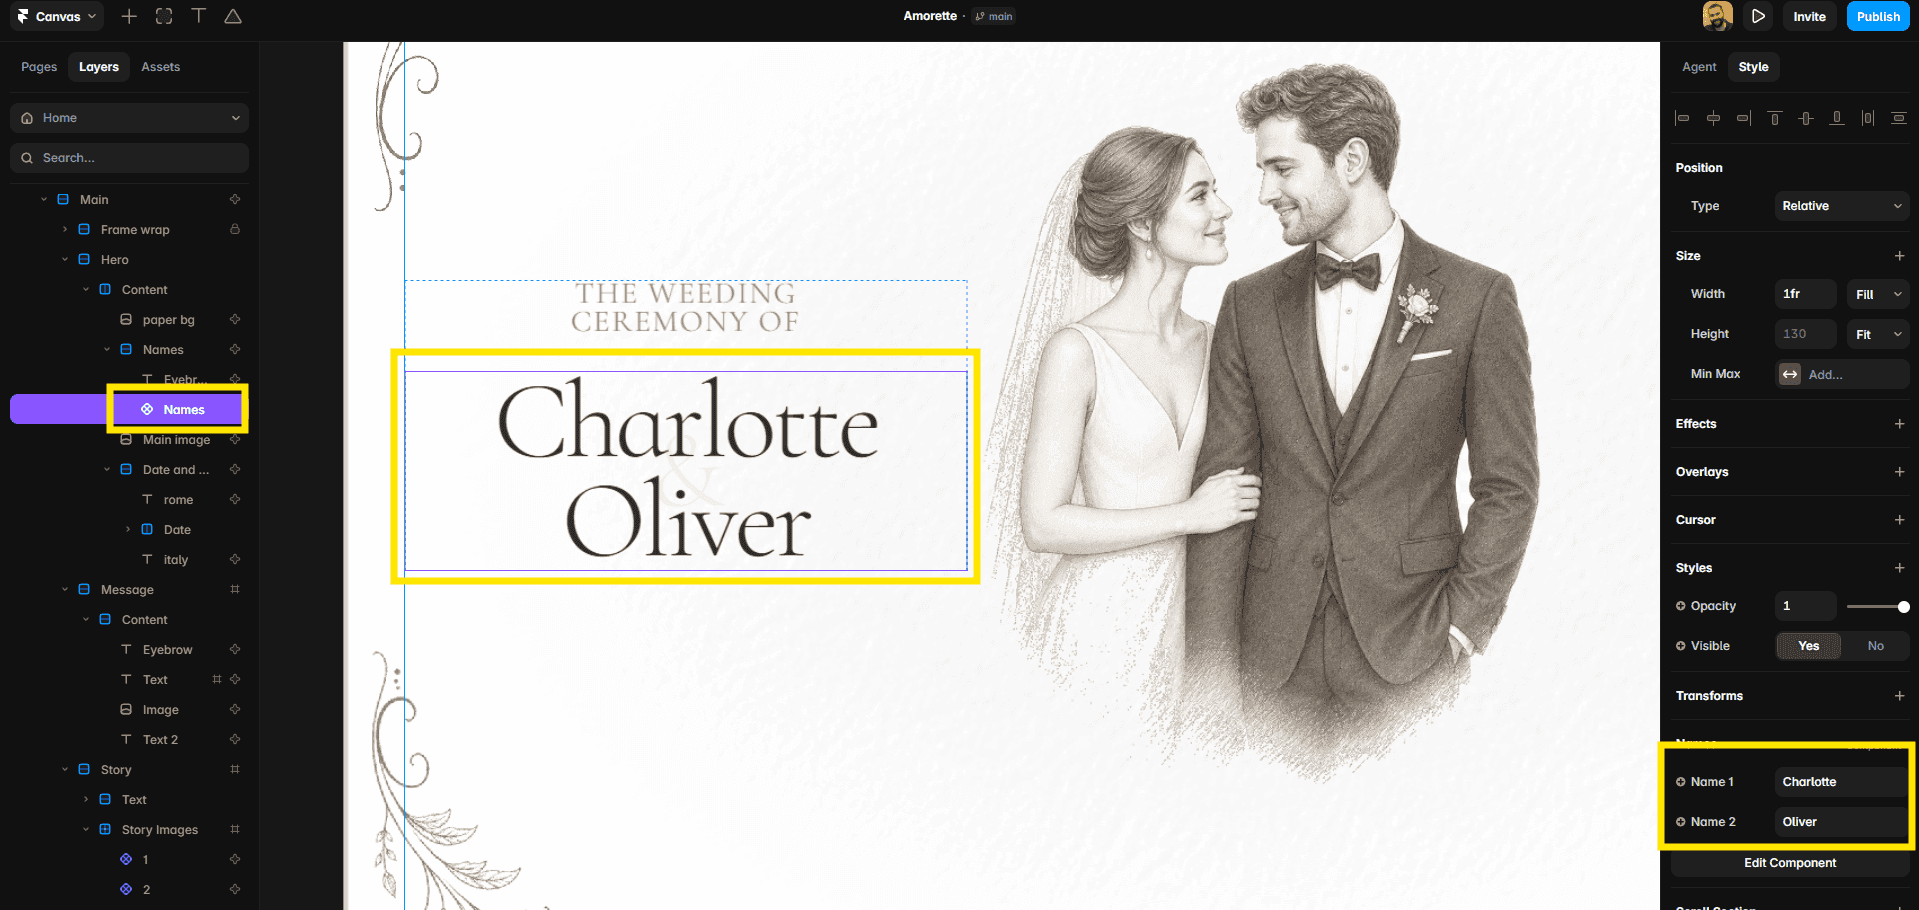
Replace the main portrait
Select the Main image layer and choose a new transparent PNG in the right-side panel. Use a vertical portrait and review its crop on desktop, tablet, and mobile.
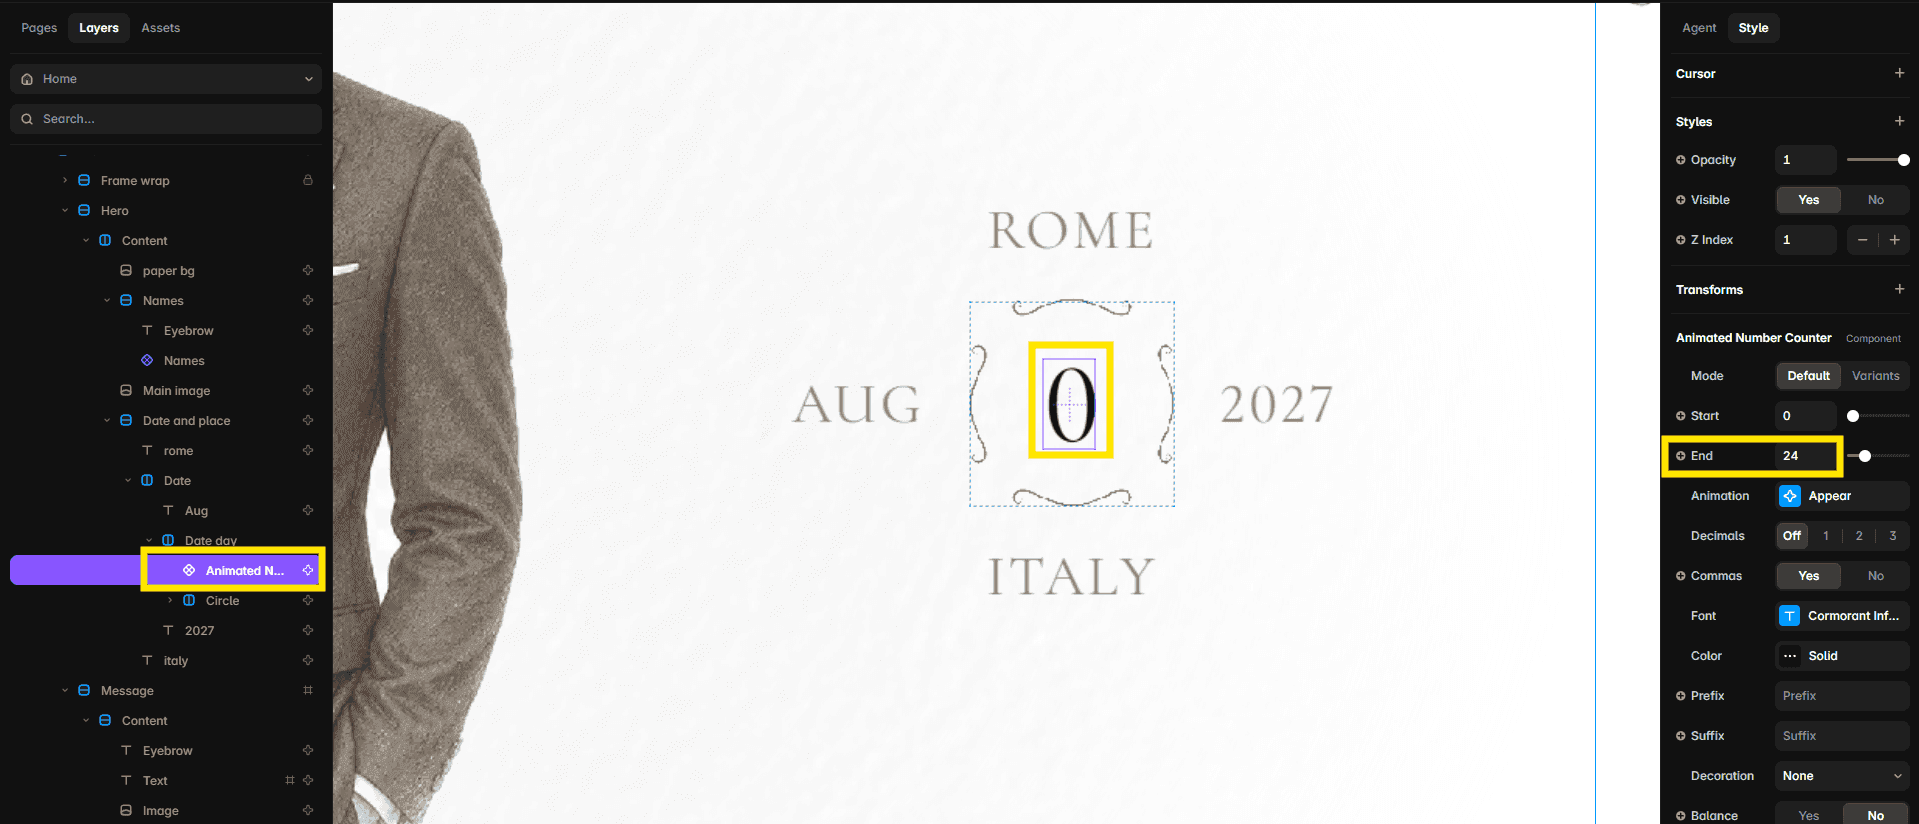
Change the date and location
Edit the month and year text directly. Select the animated number in the centre and change its End value to the required day. Replace the city and country text on both sides of the date.
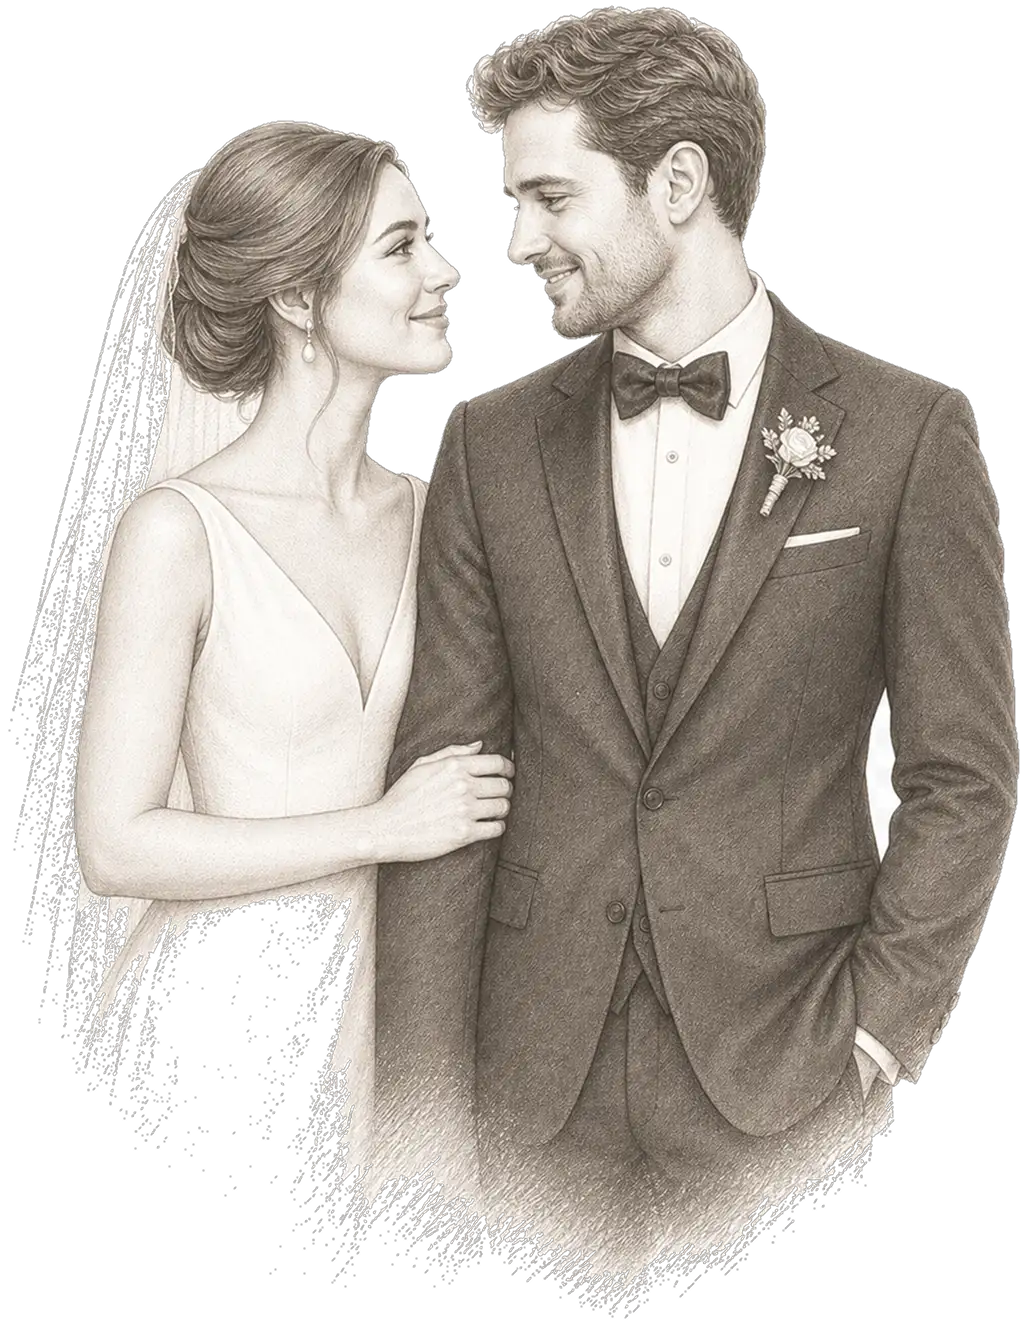
Create the engraved portrait with ChatGPT
Upload a clear wedding portrait to ChatGPT. Use a photograph where both faces, hairstyles, clothing, and the upper body are visible. Then paste the prompt below with the uploaded image.
ChatGPT prompt
Transform the uploaded wedding photograph into a refined vintage graphite pencil illustration that matches an elegant hand-drawn wedding engraving. Preserve the couple’s exact identity, facial features, expressions, pose, body proportions, hairstyles, clothing, and accessories. Render the portrait with delicate graphite linework, fine cross-hatching, soft realistic shading, subtle paper grain, and warm ivory, taupe, and charcoal monochrome tones. Keep the anatomy natural and the faces highly recognizable. Remove the original background completely and output the result on a transparent background. Keep the couple centered in a vertical composition, with their upper bodies fully visible. Fade the lower edge into irregular unfinished pencil and dry-brush strokes, similar to a traditional editorial sketch. Do not add text, frames, flowers, extra people, or new accessories. Do not beautify, age, or change either person. High detail, clean transparent PNG, portrait orientation.
Download the result as a transparent PNG and replace the Main image in Framer. If the first result changes the faces or adds a background, ask ChatGPT to keep the original identities exactly and regenerate only the drawing style and transparency.
How to replace the About Story images
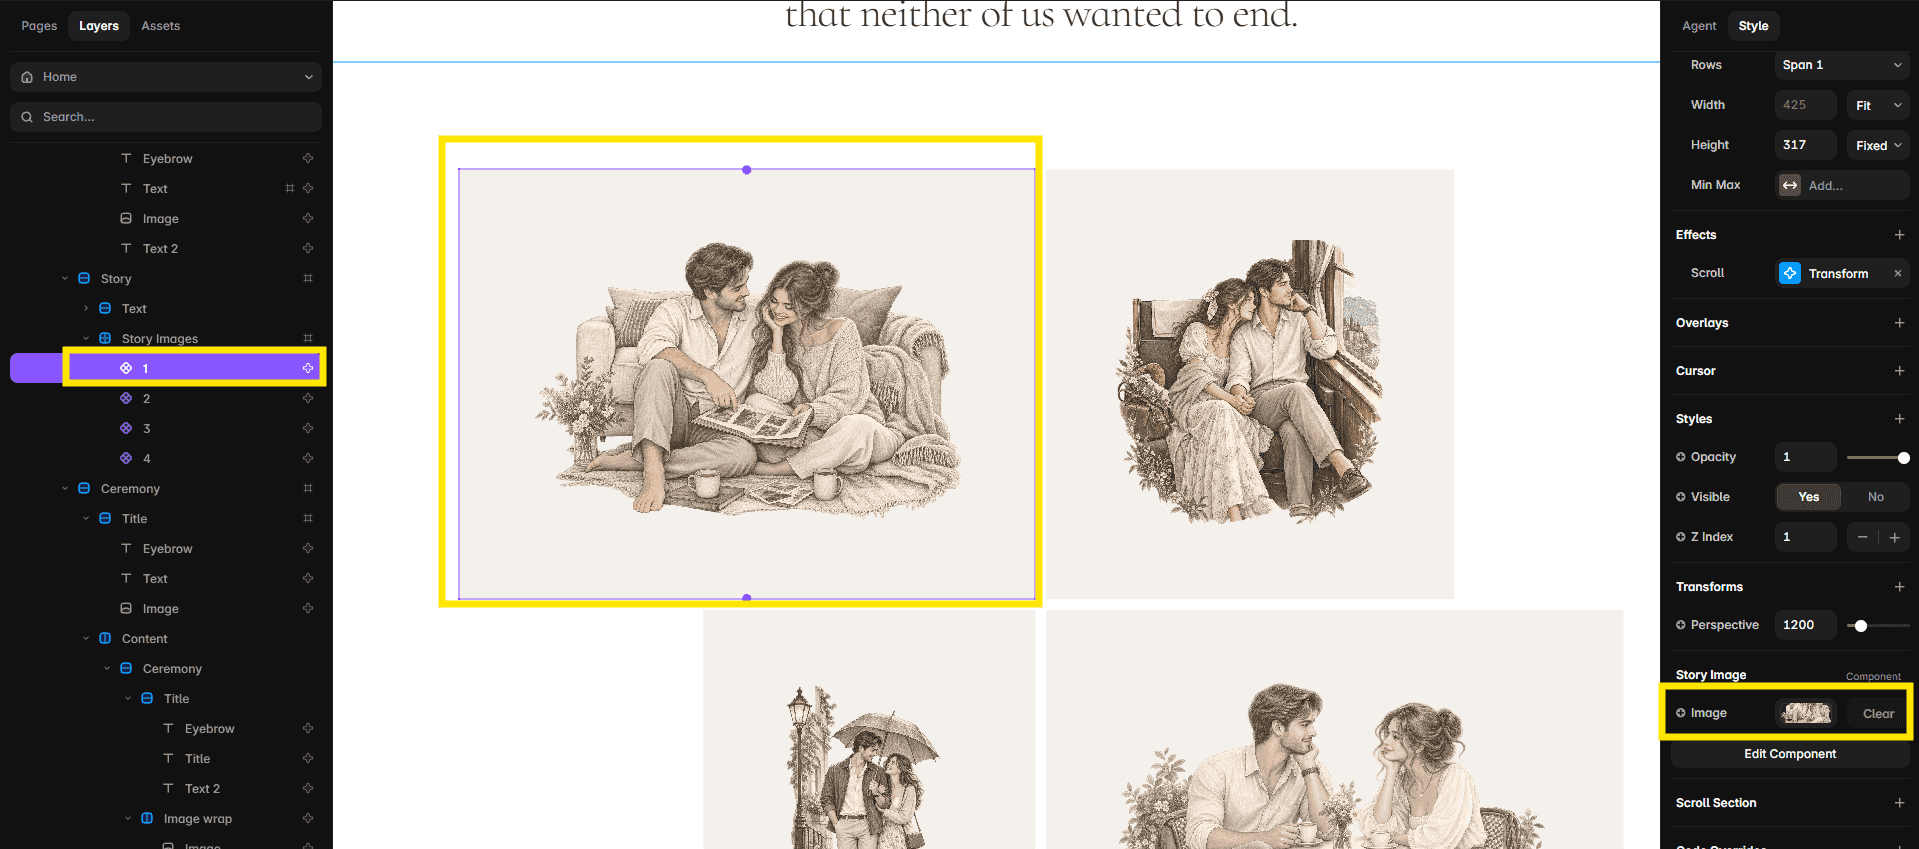
This section uses four separate illustrated scenes. Replace the images only and keep the component sizes, positions, and animation settings unchanged.
In Layers, open Story → Story Images. Select components 1, 2, 3, and 4 one at a time, then replace the Image field in the right panel.
Prepare matching illustrations
Use the ChatGPT workflow and prompt from the Hero guide for each photograph. Create four different moments rather than repeating the same pose. Export every result as a transparent PNG or WebP and keep the couple fully visible inside the canvas.
For the most balanced result, use two wide compositions, one square composition, and one vertical full-body composition. Transparent edges help the four illustrations blend naturally into the section background.
How to edit the Questions section
Each question is a separate FAQ component. You can update the content directly from the right panel without opening or editing the main component.
Edit Question and Answer
Use the Question and Answer fields in the right panel. The closed row displays the question; the answer appears when a visitor opens it.
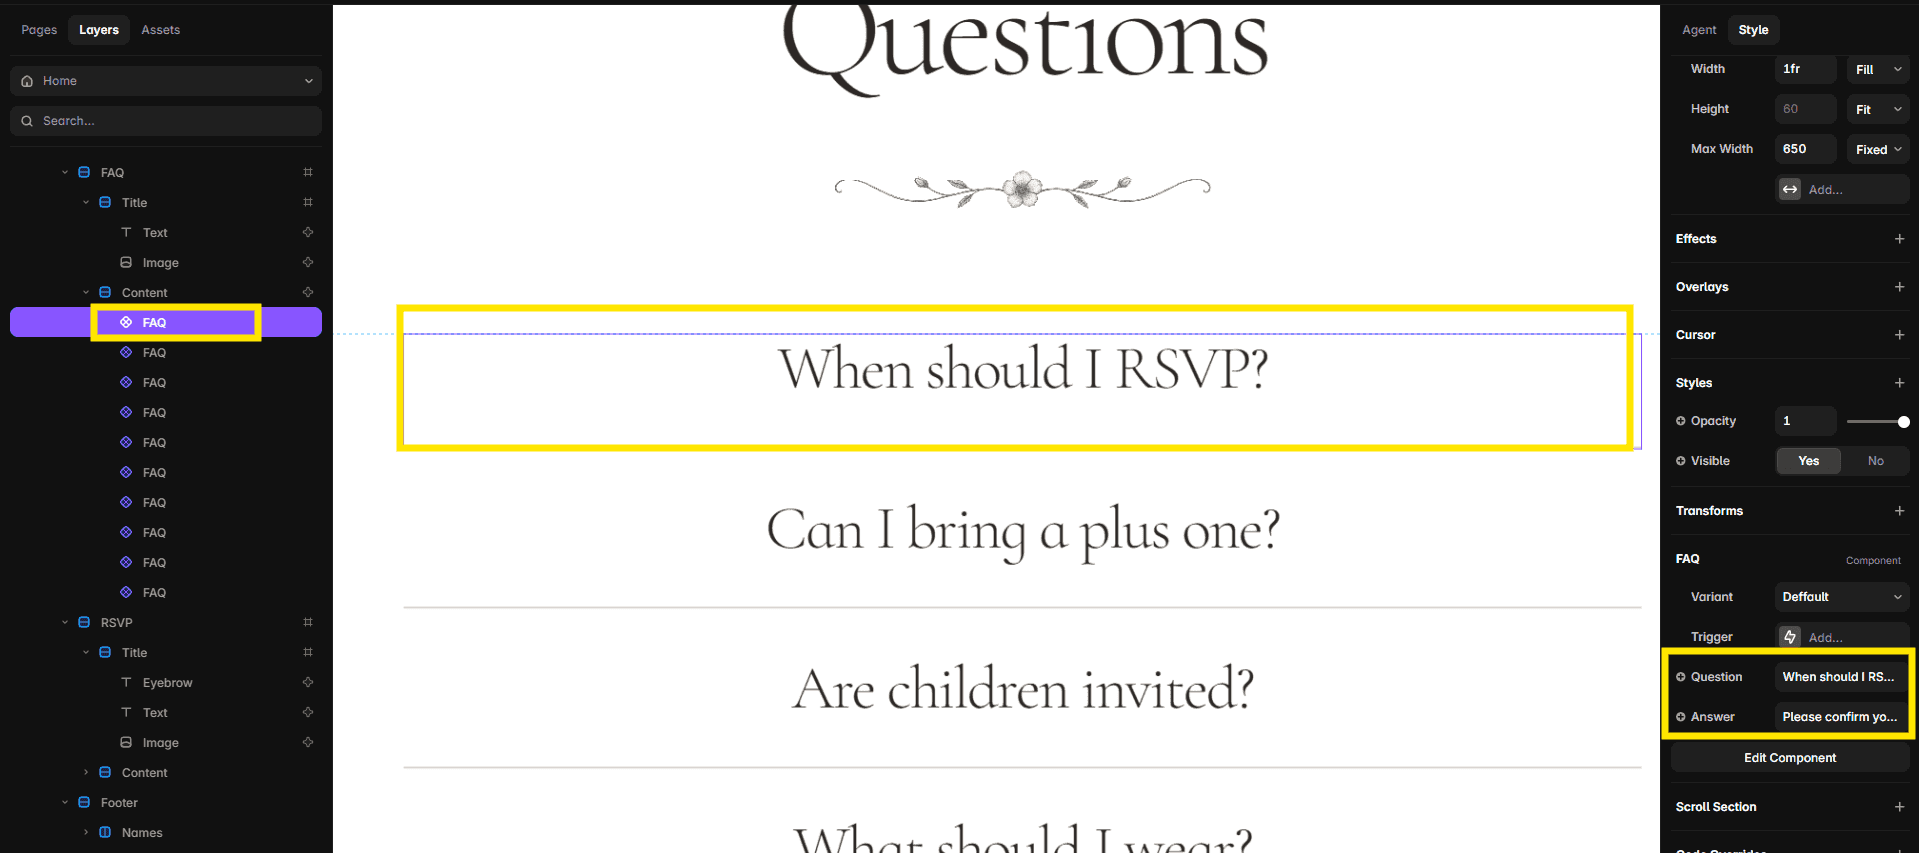
Add, remove, or reorder questions
Duplicate an existing FAQ row to add a new one, delete a row you do not need, or drag rows inside the Content stack to change their order. Keep every new item inside the same Content container.
Writing recommendations
Use clear guest-focused questions and keep each answer concise, ideally one to three sentences. Include only confirmed information about RSVP dates, dress code, transport, accommodation, children, dietary needs, and the venue.
Do not detach the FAQ instances or change their variants. The opening interaction, spacing, and responsive behaviour are already configured.
How to customize the RSVP form
The form is already structured and responsive. Update its labels, field settings, select options, and submission destination without detaching the components or rebuilding the layout.
1. Find the form and its fields
In Layers, open RSVP → Content → Form. Every field is wrapped in a named layer, so you can select Name, Email, Phone, Will you be, Number of Guests, Food, or Message directly.
Current field setup
Required: Name, Email, Attending, Number of Guests
Optional: Phone, Dietary Requirements, Additional Message
2. Edit a text field
Select the label text to rename what guests see. Select the input itself to edit its Name, Placeholder, Required setting, and input type. Keep Email set to Email, Phone set to Telephone, and Number of Guests set to Number.
3. Edit dropdown options
Select the Attending or Dietary Requirements dropdown, then edit Options in the right panel. Keep the first Select… option empty and disabled so it works as a placeholder.
Connect form submissions
Select the Form container itself and configure its submission destination in the Form settings. Choose where you want to receive or store RSVP responses, then publish and send a complete test submission.
Test before sharing the website
Check required-field validation, both attendance options, every dietary option, the message field, and the confirmation received after submission. Also verify that the response arrives at the selected destination.
Do not delete or replace the existing submit button. Its default, loading, success, incomplete, and error states are already connected to the form.


